Chick Power – Sassy Chickens and Roosters on New Products

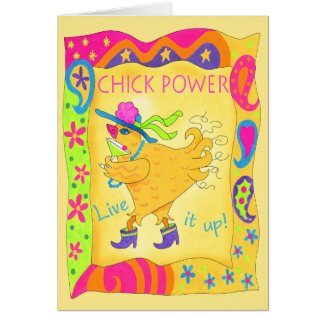
“Chick Power”, a whimsy art collection of chick and roosters was created to bring smiles! I painted this series of  four chicks and two roosters with humorous word sayings to go with their activities of having a good time. Painted in bright colors, the series features “Kick up your Heels”, “Wine a Little”, “Live It Up”, and “Queen of the Hunt” for the chicks. For the roosters there are “Strut Your Stuff” and “Play a Little” (How many of you have seen a golfing rooster?).

These whimsy chick and rooster images are now available on over 80 products in my Zazzle store and can be fully customized. Below are samples of the products available from my “Chick Power” collection.


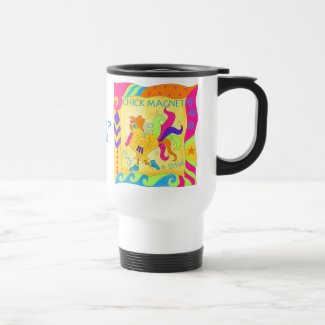
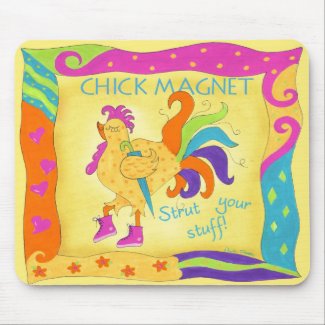
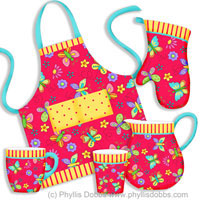
Available products include stationary (cards, invitations, etc), aprons, mouse pads, tee shirts, shopping bags, mugs, aprons and much more.

Put a little Chick Power in your day!

Phyllis

Sizzix Triple Play Blog Hop Week 6 – Blooms Greeting Card

Greeting card made with Sizzix dieSend a warm message in a special greeting card you make! This week for the Sizzix blog hop, I created a colorful and fun card with Brenda Pinnick’s Album die from Sizzix, the featured die in this week’s hop. I also used fabric from Brenda’s Couleur Vie fabric collection from Henry Glass.

All you need is these few materials:

Album, Brackets, Bigz XL Die #656053 by Brenda Pinnick from Sizzix

Card stock, felt and fabric for the dies

Card or card stock

Felt (Felt in project from National Nonwovens)

Turquoise colored rhinestone brads

Glue (Beacon Zip Dry)

Fusible Web (Steam a Seam 2 from The Warm Company)

Instructions:

Cut each layer from the dies, alternating with cardstock, fabric and felt. The fabric was fused to the layer below with fusible web and the cardstock and felt were adhered with glue.  Punch holes in the corners and add rhinestone brads.  Glue the die layer stack to the front of a card and add your message.

For an alternative use for the die stack, add it to a present instead of a bow for a really unique look.

Be sure to hop to the other blogs to see all the fabulous projects.  Just click forward or back in the Sizzix button in the sidebar.

Wishing you a warm day – its cold here!

Phyllis

Sizzix Triple Play Blog Hop Week 5 – “For You” Gift Card

For You Gift CardCreate a special greeting card to go with a gift and let it speak volumes! For week 5 of our Sizzix Triple Play Blog Hop, I created this embellished greeting gift card.

Gift greeting card open with pop upThe card is fun to make and embellish with the following materials:

Sizzix die – Gift Card Holder, 3D Pop-up, Bigz XL Die #656740 by Karen Burniston

Heavy Paper

Scrapbook double sided paper

Assorted buttons

Rick rack

Adhesive – Beacon Zip Dry

Instructions:

Cut paper to fold for the desired card size. Embellish the card front with buttons and rick rack.

Attach the die cut “For You” to the inside of the card. I added a striped scrapbook paper behind the frame opening. Note – if you are giving money or a gift card for a gift, you can insert it behind the smaller frame. I also glued a heart made of 2 layers of papers to the inside of the card along with more rick rack. The heart is embellished with a button.

With a pad of papers or your stash of scrapbook supplies, you can easily make dozens of cards!

Be sure to click forward or back on the Sizzix button in my side bar to hop to the other blogs to see all the fun and fabulous projects made this week!

Happy hopping!

Phyllis


Happy Haunting – Halloween greeting card


Halloween greeting card

Halloween greeting card

Happy Haunting!  Send your spooky greetings with this black cat card.  The cat die cut was designed by Brenda Pinnick for Sizzix.  Since my own kitty cat is black, this greeting has special meaning.

To make this card, you will need the following materials:

  • Orange, black and green striped cardstock
  • Curvy edged scissors
  • Green ribbon
  • Star brads
  • orange buttons
  • hole punch
  • glue
  • black pen

Fold the card so that the top side edge is 1 1/2 inches from the side edge of the card bottom.  Trim top side edge with curvy scissors.   Arrange and glue items in place.  Punch holes randomally.  Cut a black piece to match the top with the side edge extended  3/4″ beyond the curvy edge.  Glue to the back side of the card top.


(c) Phyllis Dobbs.  This is for your personal enjoyment.  It may not be used commercially without written permission of Phyllis Dobbs.