Redux – Sew a Christmas Apron

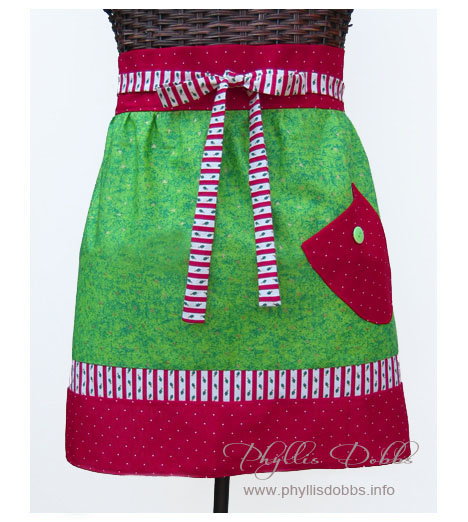
Sew a quick Christmas apron in just a couple of hours and wear it tonight! Aprons are fun and trendy to both sew and wear! I designed this apron pattern to wear for Christmas cooking and entertaining. Designed for an earlier post here on my blog, I wanted to share the apron pattern  again. Its so easy to make, even for a beginner, and can be made in a couple of hours from your fabric stash.

Free Christmas Apron Pattern

This apron pattern and others are available in Etsy WhimsyColor.

Thinking of Christmas aprons brings thoughts of all the wonderful smells of food cooking, cinnamon, and other spices. I also think of the citrus smell of oranges.

Enjoy both sewing and wearing it!

Phyllis

Happy “Thanks-giving”!

I wish each of you a wonderful Thanksgiving holiday. In remembering the true meaning of the words “thanks giving”, I think of all the things in my life that I give thanks for. Remembering the positive will suppress any negatives we might have. You can have only one thought at a time so concentrating on the positive will brighten our days.

At the top of my list, I am thankful for all the love and joy given to me by family and friends. The people we are in contact with, whether on a daily basis or much more infrequently, shape just about every aspect of our lives. For those who have passed from my life, I am ever thankful for their love and the cherished memories that will never fade.

I am thankful for all of you who read my blog and again wish you a wonderful and safe holiday!

Phyllis

Getting Ready for St. Patrick’s Day

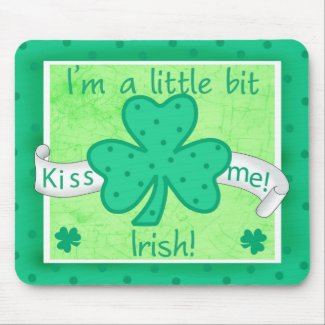
I have been working on a St. Patrick’s Day design for celebration of St. Patrick (also the birthday of one of my nephews). These are now on products in my Zazzle store.  Everything is customizable.

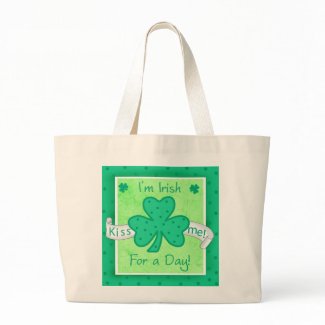
My store is loaded with various products that you can use to proclaim St. Patrick’s day, including a mousepad, tote bags, invitations, aprons, stickers, iPad and iPhone covers, men’s ties and much more. I even have some items for little Leprechauns.

For those of you aren’t Irish, you can be “Irish for a Day”.

Here’s wishing you the “Luck of the Irish”!
Phyllis

Valentine Nostalgia

I wish each of you a wonderful Valentine’s Day!

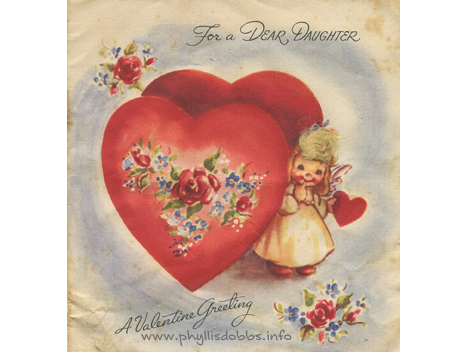
First ValentineAnd I want to share my very first Valentine. My mother was great at keeping things and I found my first Valentine in some things she kept for me. This card* was sent to me by my dad on my first Valentine Day. And I guess you can call it a mixed media card since the tuff of hair on the girl is some type of fiber.

Its wonderful looking throught all the saved things from my early years, thing I would not know about or remember.

Have a wonderful day and keep your treasured cards!

Phyllis

* The card copyright ownership is Rust Craft of Boston.

A New Year ahead – and an old one almost gone!

If  you are like me, you are wondering where did 2010 go!  It certainly doesn’t seem like its been a year since I looked forward to greeting 2010. Time flies so quickly and the seasons, Christmas and holidays zip by! I meant to accomplish so much this year, and I did accomplish more than I thought possible, but I didn’t get to the bottom of my 2010 To Do list. However, my lists are always longer than humanly possible to accomplish. So I will do what I do with all my lists, roll the items I didn’t cross off onto the next list. I will say that close to the top of my list is to move all chocolate out of my sight, then I can move onto my work related items.

But at the VERY top of my list is to extend the biggest and warmest THANK YOU for visiting my blog! And for those who emailed me or posted comments, I loved hearing from you and would love to hear from bunches of you in the future!

I hope that each of you had a wonderful 2010 and I wish you a very, very happy and healthy 2011!

Phyllis

T’is the Season for gift wrapping – 2 books for unique wrapping!

I love books and while browsing through books, I found these 2 that are fabulous for creating spectacular gift wrapping. The books have different methods of creating wraps and I fell in love with both of them. And they offer fantastic wrapping techniques that can be used right now during “the wrapping season”.
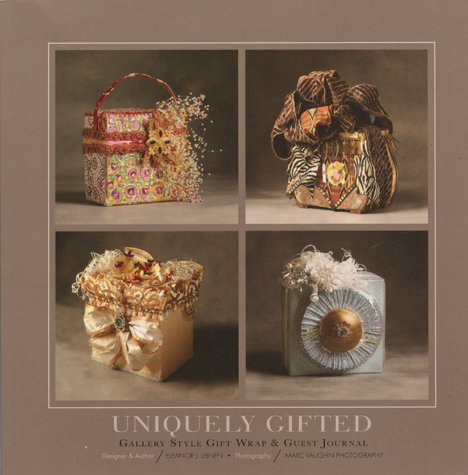
Unique gift wrapping BookUniquely Gifted by Eleanor J. Leinen with beautiful photography by Marc Vaughn shows you how to create a work of art with each gift. Whether you are a crafter or not, you can find yourself creating beautiful gifts with things you already have on hand or can easily purchase. Items such as ribbons, fabrics and papers are combined with such items as old jewelry, tassels, trims, beads, silk flowers, beads, and many more items to create these beautiful wrappings.

Since each wrapping is very unique, instructions are not provided. But with all the “stuff” we have in our stashes, we can follow Eleanor’s inspiration to create our own works of art. Creating them with a box or giftbag that can be opened without damage to our artistic endeavors will allow our work of art to remain intact and a gift in itself. This is a fun book and I plan to create works of art with my wrapping from now on!
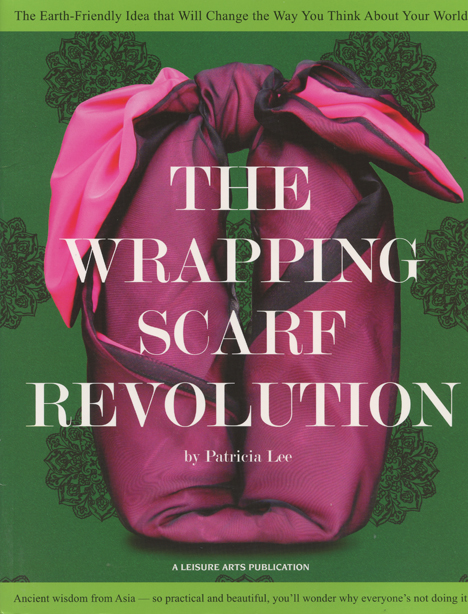
Wrapping scarf book

The Wrapping Scarf Revolution by Patricia Lee offers a different method of wrapping by creating gorgeous wrapping scarfs from fabrics. The wrapping scarf can be used over and over which is very economical.

The book is filled with easy-to-follow diagrams of the many different styles of wraps, including wrap bags. You just choose the fabric you want and start creating wraps adding embellishments as you desire. I have a huge stash of fabric and plan to also put the techniques in this book to use.

A wrapping scarf can also allow you to create a tradition when swapping presents back and forth using a special scarf – from friend to friend, mother to daughter, sister to sister.

I love both books so please check back. I will show you projects that I create using the techniques of both books. (My mind is already whirling away with ideas!)

For full disclosure, I purchased both books.

Here’s to pretty wrappings and a happy holidays!

Phyllis

Sizzix Triple Play Blog Hop Week 4 – Christmas Journal

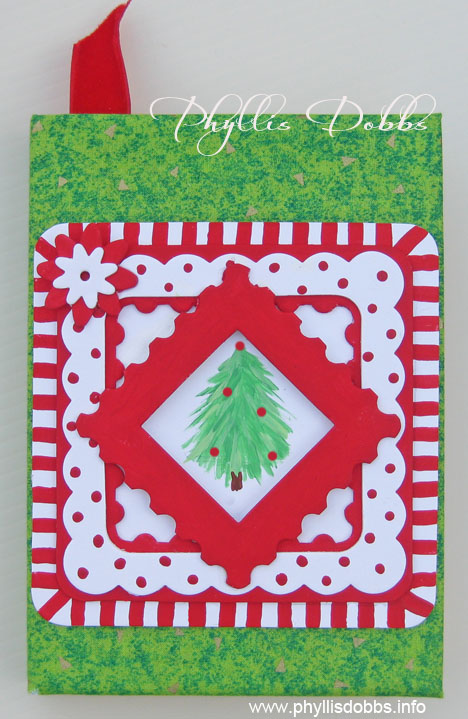
Christmas journal

Christmas is such a special time of the year with all the activities and gatherings of family and friends. Keep the memories of your Chistmas holiday each year by journaling in a Christmas journal.

Our 4th week of the Sizzix Triple Play blog hop is the Frame and Frame back die by Eileen Hull. There are so many uses for this die, especially this time of the year for Christmas photos.  I chose to use it to create and decorate a Christmas journal.

To make the journal, you will need the following materials:

Frame and Frame Back, 3D Pro Scoreboards Die #656835 by Eileen Hull

Heavy card stock

Journal

Green fabric

Red and green acrylic paints

Adhesive – Zip Dry by Beacon

Instructions:

Cut the fabric 2″ larger than the opened journal on all sides.  Center the journal and fold the fabric edges to the inside the cover, fold the raw edge back and glue. Cut fabric pieces out along the edge of the spine.

Paint the frame pieces solid red, red stripes and red dots.

Paint a Christmas tree or other motif centered on the bottom frame.  Align the frame pieces and glue them together.  Turn the small red frame turned catercorner. Glue the completed frame centered on the journal.

Be sure to hop to the other blogs to see an assortment of outstanding and unique uses for this die.  Just click on the Sizzix button in the sidebar and hop forward to the next blog.

Thanks for visiting and enjoy the hop!

Phyllis

Beautiful Blooms and Happy Thanksgiving

Thanksgiving cactusI wish each of you a wonderful and happy Thanksgiving and hope you are able to spend it with special people in your life.  I wish each of you safe travels and a holiday filled with love, laughter and reminiscences over fond memories!

I want to share my “Thanksgiving Cactus”.  Its in full bloom and measures 32″ across.  Never mind that I bought it during Christmas 4 years ago, thinking it was a “Christmas Cactus”.  But it blooms each year at Thanksgiving and a little research confirmed that it is a Thanksgiving Cactus.  I bought this as a small plant in a 4″ pot.  It amazes me that not only has it lived,  it has thrived and grown and grown each year. Although not a traditional color, there’s definitely nothing wrong with a little pink with our turkey.

Happy Thanksgiving!

Phyllis

Sizzix Triple Play Blog Hop Week 1 – Peppermint Candy House

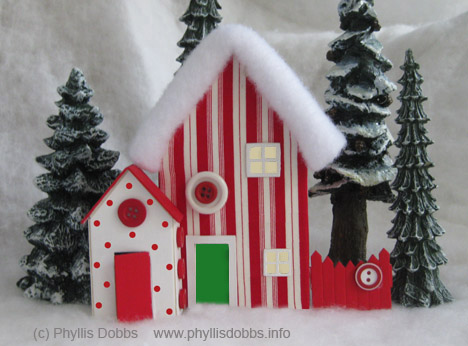
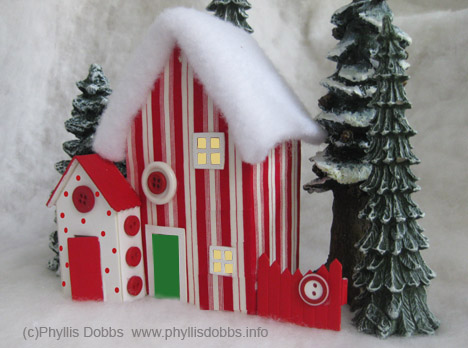
Christmas Candy Cane House from Sizzix diePeppermint Candy Christmas House from Sizzix die

I’m delighted to be part of the Sizzix Triple Play Blog Hop featuring 60 designers. That’s 60 designs with instructions each week.

Christmas is just 7 weeks away!  Can you believe it? I chose to make a Peppermint Candy house since the season is so close.

It was really fun to make so here are the materials you need as well as the instructions.

Materials:

#656836; Sizzix Scoreboards Pro Die – House, 3D, by Eileen Hull

Sizzix 12×12 matboard, white

Sizzix Big Shot Pro die cutting machine

1/4 yard red/white stripe fabric

Beacon Fabric-Tac Glue

White batting

Red acrylic paint

Paint brush

Yellow and green card stock

Assorted red and white buttons

Pencil

Instructions –

1.  Fold tabs areas of the house back and trace the outline of the house on the back side of the stripe fabric with a pencil. Cut out adding 1/4″ all the way around the house outline.

2.  Lay the fabric right side  down and glue the house to the back side of the fabric.   Cut an X in the window and door areas, cutting from corner to corner.  Fold the pieces back and glue to the back side of the house.  Fold edges around the house back and glue to the back of the house.  Cut pieces for the door and windows from the card stock and glue to the back side of the house. Fold house and glue together following instructions with the die.

3.  Fold batting in half and cut a piece of batting the width of the roof and adding 1/2″ to the depth.  Lightly glue the batting together between the layers.  Align raw edges of the batting to the back edge so that the fold is over the front edge of the roof.  Glue the batting to the roof.  Put a line of glue on the front edge of the roof and press the batting over the edge. Glue the window and door frames in place.

4.  Paint the roof and door of the small house red and paint red dots on the front. Paint the fence red. Fold house together and glue on the roof. Glue the small house to the larger house, overlapping by 1/3″. Glue buttons to house. Glue fence to attach to house.

Please click on the Sizzix badge in the sidebar to visit the other blogs in the blog hop.  You will see some fabulous houses!

Phyllis

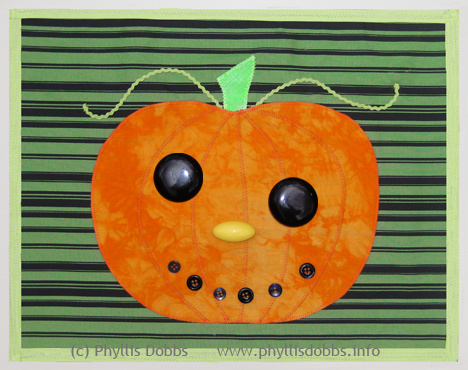
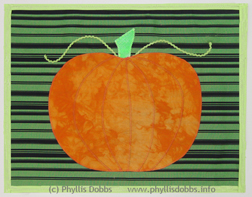
Sew a Pumpkin Placemat!

Halloween is almost here – next weekend!  I love pumpkins – they represent Fall, Halloween and Thanksgiving. Plus they are so delicious to eat in great desserts.  You can make this easy Pumpkin placemat in time for Halloween.  This free pattern will serve double duty as you can use it for a Thanksgiving table setting – just leave off the buttons.

Click to download the free pattern and instructions and start sewing.  All you need is the background fabric, orange fabric, green bias tape, baby rick rack, fusible web and if you are making it for Halloween, buttons.

I wish you a fun Halloween! My husband will be handing out our candy since I will be in Houston for the International Quilt Market.

Happy sewing!

Phyllis