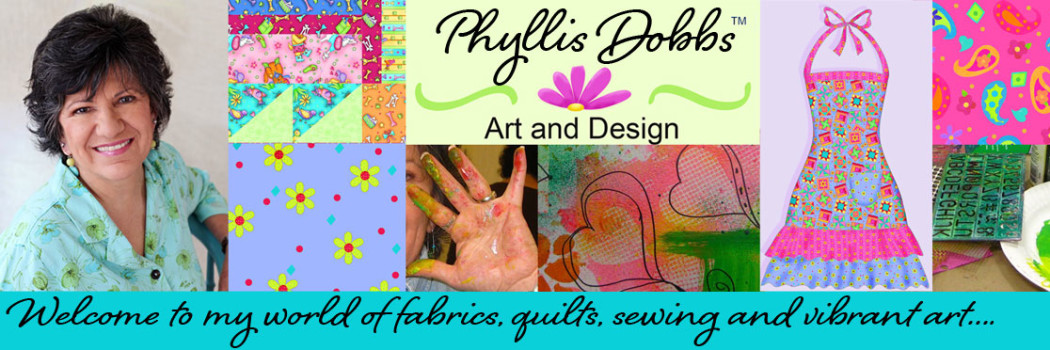
Free Patterns for Bee Yourself Fabrics

Bee Yourself” fabrics that I designed for Quilting Treasures shows bees in their favorite hobbies.  There is a bee for everyone! I’ve talked about the fabric collection in prior posts, but want to let you know about some free patterns for “Bee Yourself”. Quilting Treasures has several patterns that I designed with this fabric collection, available for free download on their website.  With these 4 patterns, there is plenty of inspiration and sewing for you.

Free Pattern Bee Yourself Quilt Quilting Treasures

This “Bee Yourself” quilt is 53″ x 65″ inches in size with multi borders.  The blocks are pieced using the bee blocks in the panel fabric, surrounded by the black “words” fabric to make the blocks “pop”.

Bee Yourself Table Runner free pattern from Quilting Treasures

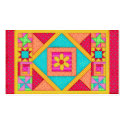
This table runner will add a delightful touch to your table or chest.  The finished size is 66″ x 18″.

Bee Yourself Tote Bag and Placemats

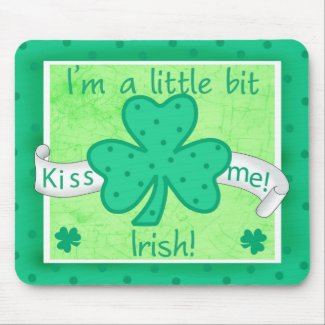
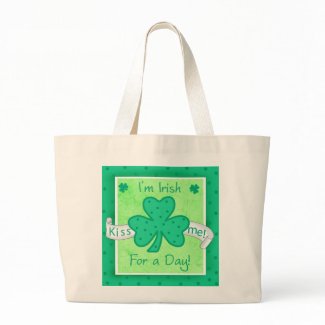
Create a tote bag to carry your quilt or sewing projects to your guild meetings or classes, or use for shopping to show off which “bee” you are. This free tote bag pattern is a great size – 16″ w x 10 1/2″ h x 5 1/2″ d. In addition, this placemat can add some fun as well as color to your table setting. The size is 19 1/2″ x 14 3/4″ and has instructions and yardage for making in sets of 2.

These patterns are in 2 downloadable pdf’s – one with the quilt instructions and the other with the instructions for the placemat, table runner, and tote bag.

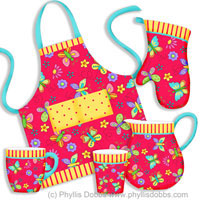
To see these projects on display at the 2012 Fall International Quilt Market in Houston last October, read about it on my prior post about Quilt Market.  But this is not all – you can see some other “Bee Yourself” projects that were displayed at Quilt Market.  I will have the decorative pillow, apron, pot holders and smaller tote bag posted here shortly.

“Sew,” while the weather is cold and chilly, you can have fun sewing and quilting with these patterns!

Hugs,

Phyllis

Hot Potatoes – Mr. and Mrs. Potato Head at Quilt Market

Mr. and Mrs. Potato Head bring back childhood memories for me.  It was a fun toy that I loved playing with.  Hot Potatoes from Hasbro, a new fabric line from Quilting Treasures is delightful. It was even more fun with Mr. and Mrs. Potato Head as an adult – designing several sewing and quilting projects with the fabric collection.  I designed and created the Hot Potatoes quilted play mat, large tote bag, half apron and potholder. The potholder is potato shaped and can hang from the apron.  The projects were featured in Quilting Treasures booth at the Spring International Quilt Market held in Kansas City.

Hot Potatoes Fabric free projects Quilt Market

Hot Potatoes Free sewing projects at Quilt Market

I also designed additional pieces for this collection.  All will be free patterns for download from Quilting Treasures website.  The fabric will be available soon – August 2012. Please check back to see all the Mr. and Mrs. Potato Head projects.

Phyllis


Getting Ready for St. Patrick’s Day

I have been working on a St. Patrick’s Day design for celebration of St. Patrick (also the birthday of one of my nephews). These are now on products in my Zazzle store.  Everything is customizable.

My store is loaded with various products that you can use to proclaim St. Patrick’s day, including a mousepad, tote bags, invitations, aprons, stickers, iPad and iPhone covers, men’s ties and much more. I even have some items for little Leprechauns.

For those of you aren’t Irish, you can be “Irish for a Day”.

Here’s wishing you the “Luck of the Irish”!
Phyllis

Terrorific Tuesday – Week 2 of Halloween DIY Crafts

terrorific tuesday 2010 week 2

Silvia Chenault turns a toy bat into an instant neckpiece (but will it bite your neck?)

Phyllis Dobbs shows us how to recycle a t-shirt into a really cool Halloween trick-or-treat bag!

Kate Pullen brews up adorable Paper Cone Witches!

Messy Missy makes a super spooky wreath with Duct tape!

Avalon Potter goes glam with her Halloween Masquerade Ball mask!

Patty Cappelluti goes bat crazy making this spooky bat door decoration!

Crafterella is a ghoul gone wild in her Ghoul Scout Costume. Download the custom patches she made for her costume!

Alexa Westerfield a.k.a. Swelldesigner upcycles a Starbucks bottle into a swell Halloween vase!

Cheryl Ball delights us with yummy candy corn cupcakes!

Pattiewack upcycles an apple tray into a festive cupcake carrier. So inexpensive and easy!

Ann Butler crafts up a boo-tiful holder for your ATCs complete with a black cat!

Glory whips up a super fun and healthy pumpkin-inspired muffin meal for her kids. Love it!

Crafty Chica makes the perfect mask to celebrate Dia de los Muertos.

Maya in the Moment has some face painting fun with her little cousin and of course, hilarity ensues!

Eileen Hull has a ghostly good time creating this cute diecut necklace!

That’s it for this week! If you are interested in playing in the fun Terrorific Tuesday roundup, e-mail Alexa at swelldesigner (at) gmail (dot) com and she’ll send you the details!

Repurpose (recycle) a tee shirt into a Halloween Treat Bag

Repurpose one of your old tee shirts into a fun Halloween Trick-or-Treat bag for the kids (or for yourself to carry around for Halloween).  

To make this easy tote bag for Halloween, all you need is the following supplies –

Black long sleeve tee shirt

Green fabric paint (great if you use glow-in-the-dark paint)

2 pieces of green ribbon

Green rattail cording

Small orange buttons

2 large orange buttons

1 large orange decorative button brad

2 small yellow buttons

1 large yellow button

1/3″ wide orange ribbon

Needle and thread or glue

Piece of cardboard

Scissors

Instructions:

Lay tee shirt flat and cut the top of the tee shirt off above the top edge of the sleeves.  The cutting line is marked on the tee shirt below.

Fold the top of the tee shirt down over the front so that the bottom of the arm hole for the sleeve is at the top and the folded piece forms a flap.

Place the piece of cardboard between the 2 layers of the tee shirt and under where you will paint. Paint a pumpkin on the front of the tee shirt below the folded over edge and 2 to 3 inches above the bottom edge.

Sew the bottom front and back of the tee shirt together, sewing the seam 1 1/4″ above the bottom edge. Twist the sleeves and over lap the cuff edges by 1″ and sew together. Cut the bottom edge below the seam to form fringe.

Sew the end of the orange ribbon to the base of one sleeve “strap” and wrap around the strap until you reach the other end, cut the ribbon and sew the ribbon end to the strap. Fold 2 different lengths of ribbon together and stitch the fold to the tee shirt centered above the pumpkin.  Arrange the green rattail cording and sew loosely to the shirt as shown.  Glue or sew the orange brad on top of the ribbon at the fold.

Sew or glue buttons – 2 small yellow buttons in the eyes, 2 large orange buttons in the bottom corners, the yellow button centered on the folded over teeshirt area, and a row of small orange buttons to the edge of the fold over.

I hope you enjoy this project!  Be creative and paint a skull or any other Halloween design or use a different color shirt – let your imagination fly or enlist the help of the kids.  Your trick or treaters will love carrying this bag.

Phyllis

Free pattern for a tote bag made with whimsy dog fabrics

I have created a free pattern for you to make this tote bag.  I designed it with my fabric collection “It’s a Dog’s Life” for Quilting Treasures by Cranston Printworks.  As you can see, the fabric collection features very whimsical dogs and will generate plenty of smiles.  The tote is easy to make and can be finished in a couple of hours. The tote has large pockets on each side made with different dog blocks. The bag is lightly quilted with stipple quilting.

Enjoy! And I would love to see a photo of any totes that you make with this pattern.

Phyllis