Sizzix Triple Blog Hop Week 7 – Gift Bag Topper

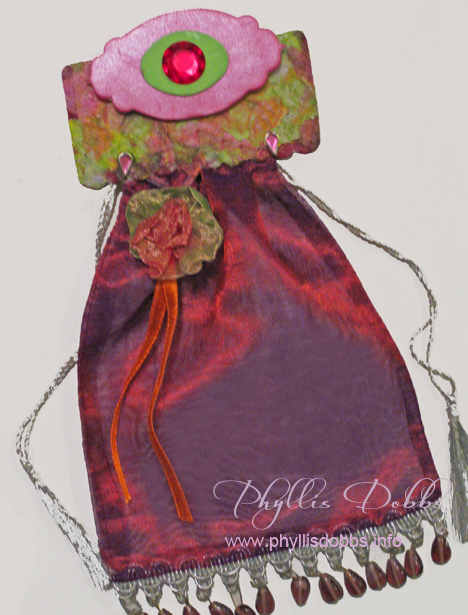
Gift bag topperCreate a treat bag topper to add a special touch to your gift bags! This week for our Sizzix Triple Play blog hop, we are using Eileen Hull’s Treat Bag topper die. There are so many possibilities for uses with this die with its versatility. I love it!

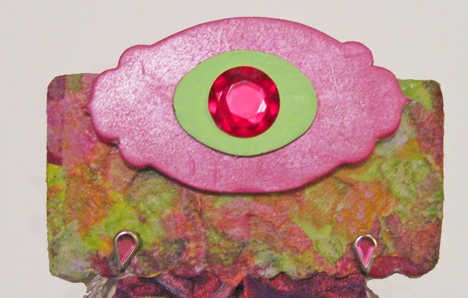
Decoupaged bag topper

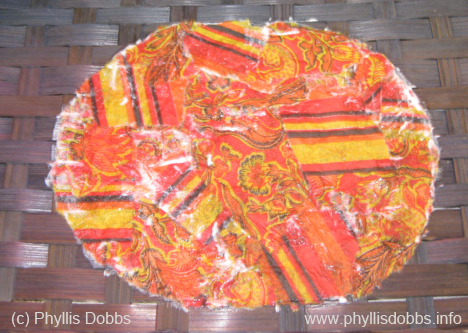
I also love decoupaging so I decoupaged my topper to give it texture and color. I like the marbleized look that resulted, although the paper napkin I used was a floral pattern.

The materials I used included:

Die for Treat Bag Toppers Bigz XL Die #656774 by Eileen Hull for Sizzix

Heavy card stock

Mod Podge

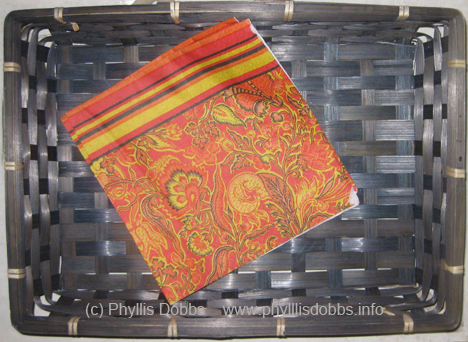
Paper Napkin with a pattern

Cabochon bead

Pink oil paint stick

Green acrylic paint

2 pink rhinestone brads

Glue dots

Glue – Beacon Zip Dry

Treat Bag

Instructions:

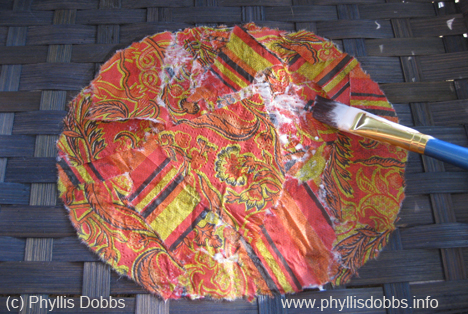
1.Tear the paper napkin into small pieces and decoupage to the treat topper with Mod Podge. Use the Mod Podge to glue the napkin to the topper and to seal the top of the paper. I used several layers of the napkin to get more texture.

2. Paint the large medallion pink. I used an oil paint stick to paint it – I like the pearled look of the paint. I then painted a smaller oval medallion green.

3. Glue the the green oval centered to the pink medallion and glue the cabochon bead centered on the green medallion. I used glue dots to attach the medallion to the bag topper so that it stands out.

4. Use the rhinestone brads to attach the topper to the bag (after you have added your goodie to the bag!).

Be sure to check the all the other fantastic projects in the Triple Play blog hop by clicking on the forward or back button in the sidebar. This is the last week of this hop and it has been so much fun. I’ve had a blast working on the hop projects and dies.

Thanks for visiting the Triple Play Blog Hop! Please visit the TriplePlay blog for more fun ideas from Brenda Pinnick, Karen Burniston, Eileen Hull and friends. If you have enjoyed seeing all of the inspiring ideas on the blog hop, please “like” Triple Play on Facebook.

Have a great time  hopping!

Decoupaging Red Poppies to Embellish a Table

Does a crafter/artist/quilter/sewer ever get away from creating? Even if you are away from all your stashes of products, the mind is still buzzing away on new ideas and projects to work on.

A few weeks ago, I was  work-cationing (working while on vacation, with emphasis on working).  My friend Brenda Pinnick visited for a few days, which lead our brainstorming on craft projects we loved creating. Since we didn’t have our product stashes with us, we visited local craft stores to pick up a few suppies.

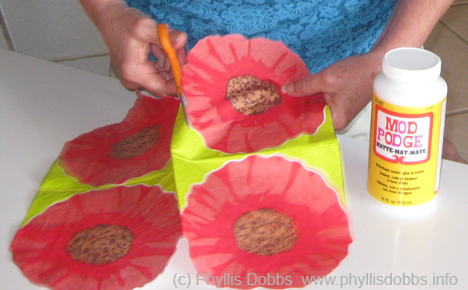
We detoured by Tuesday Morning were we found a fabulous selection of paper napkins.  Hummmmm, there are so many uses for paper napkins other than the normal wiping of hands and decoupaging heads the list.  After buying a bottle of Mod Podge, we were set.

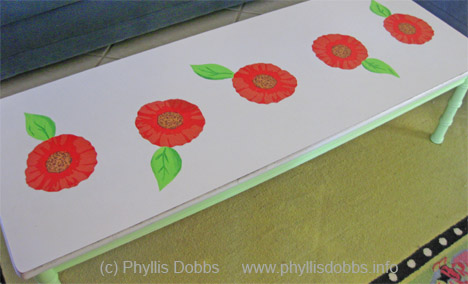
I have previously painted the legs of this coffee table a light apple green and thought the top would look great with flowers. My napkin selection included a package of red poppy shaped napkins, perfect for my project.

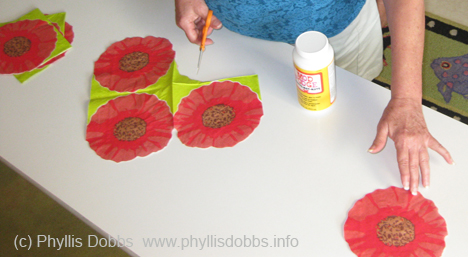
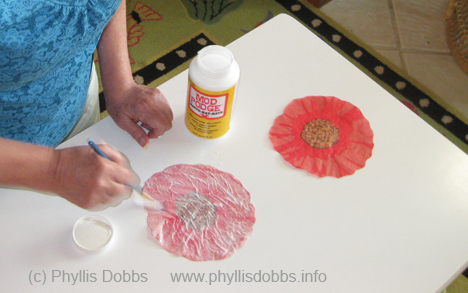
First, I cut the flowers and  arranged 5 down the center of the table. I painted Mod Podge to the back of the flowers to glue them to the table. After the flowers dried on the table, I added several coats of Mod Podge to the top to seal the flowers, allowing drying time between each coat of Mod Podge.

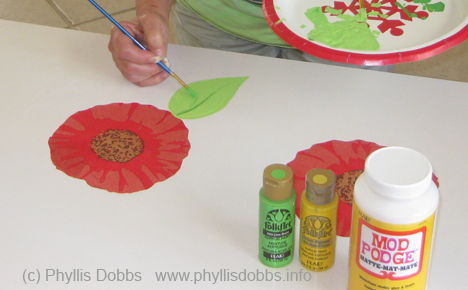
After the Mod Podge dried, I painted a leaf to each flower.

Since red poppies have always been one of my favorite flowers, I’m excited that I can enjoy them on the table for years to come.

Look around and if you have a table or other items that has gotten stale, think decoupage with fun prints.

Have a great craft day,

Phyllis

Halloween Craft – Decoupaged Pumpkin Treat Basket

Make an easy Halloween Basket to hold candy for trick-or-treaters.  All is takes is a basket to decorate (I found this one at Goodwill for $1) and a few supplies.

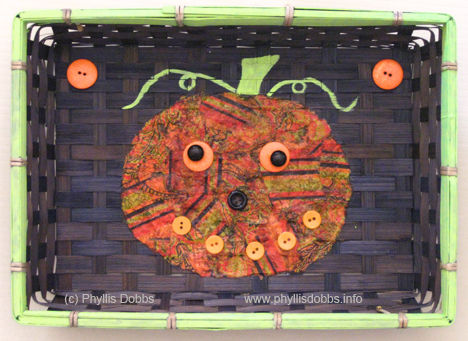
The pumpkin was created with a paper napkin torn into pieces then decoupaged with Mod Podge.

Supplies –

Basket

Mod Podge

Assorted orange and black buttons

Green Paint (Plaid Folk Art)

Paper Napkin or other orange pattern paper

Paint brushes

I found these gorgeous paper napkins at Tuesday Morning.  They are the perfect colors for Halloween and the fall season.

After drawing pumpkin shape on the basket, I tore the napkins into assorted sizes and shapes, with curved edges on some to loosely fit the curved edge of the pumpkin. Then I applied Mod Podge with a brush to the basket inside the pumpkin area, a section at a time.  I added the pieces of torn napkin on to the area with the Mod Podge, overlapping pieces and fitting the curved edges along the outside edge of the pumpkin.

After filing the pumpkin and I keep adding the paper pieces so that there were 2 layers of paper for the pumpkin.

When all the napkin pieces were in place, I applied a final coat of Mod Podge on the top of the pumpkin to seal the paper.

After the pumpkin dried, I painted the stem and vine as well as around the rim of the basket.  I glued buttons for eyes with smaller round black buttons on larger orange buttons.  A black button was used for the nose and a row of small orange buttons for the mouth.  A large orange button was glued in the top corners.

I wish you a boo-dashious Halloween.  Please check back – I’m working on several more crafty and sewing items for Halloween!

Phyllis