Look Around and Observe the Patterns

Sometimes (or most of the time) we are so focused on what we are doing or thinking that we don’t look around us. By just stopping to observe our surroundings, there is so much pattern, detail and color that we normally don’t notice.

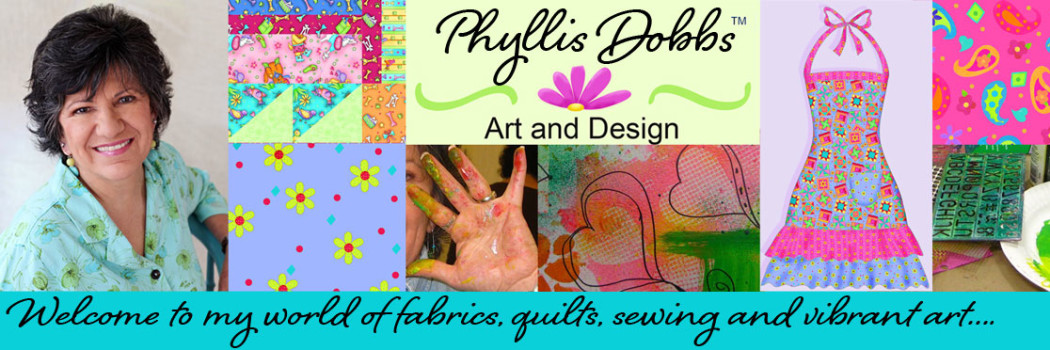
While in Atlanta for the Gift Market this month, I looked down the escalators in Building 1 and snapped a photo because it looked interesting from my viewpoint.

Escalators in Atlanta Gift Market Building 2

This photo was taken on the 14th floor. The 6th floor is at the bottom of the escalator shaft.  After attending Gift Market many times and going round and round and round on the escalators from 6th floor to 18th floor, I never noticed the pattern seen from looking down the center of the shaft.

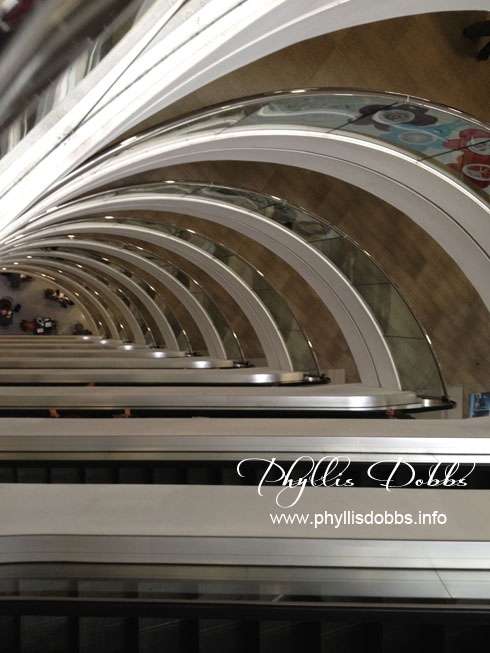
Atlanta Gift Market floor Building 3

Walking in Building 3 of the Mart, I looked across the center  from around the 7th or 8th floor and saw this pattern formed by the elevator shaft and escalators.  I wish I had taken a picture looking down from a higher floor, but thought this looked very balanced.

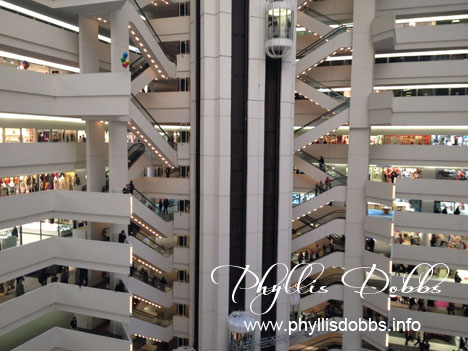
View of Building 3 Atlanta Market

This is another view of the pattern formed by the open floors in Building 3 looking from the escalators. The curvature of the floors from this angle gives a different look and pattern.

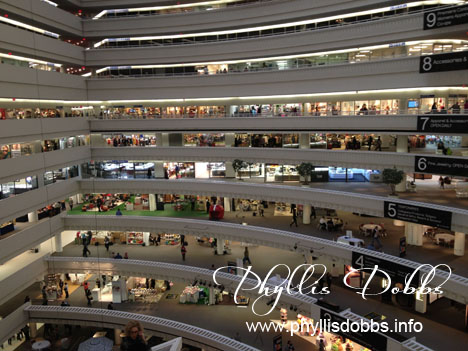
Marriott Marquis Atlanta pattern of floors

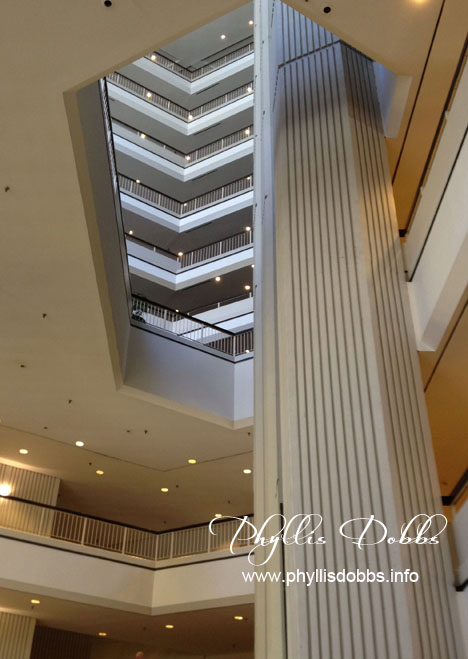
After I took the pictures of the floor patterns in Market, I was in a mental mode of observing other patterns.  As I walked through the lobby of the Marriott Marquis on the way to the Hilton where I was staying, I looked up and saw this dynamic view of the floors and arrangement. It was really beautiful to see, especially since the floor vertical arrangement is not symmetrical. Previously being mentally focused on other things, it took several trips through the Marriott before I looked up and noticed it.

Atlanta Hilton Floor Repeat pattern

I noticed that the Hilton also has a pattern by looking up.  This is looking up from the 14th floor, but there were almost solid floors looking up and down so the view wasn’t as dramatic.  This view is interesting with the elevator shaft going up through the opening.  It looks like a higher view would have a better view pattern formed by open floors.

So, take a moment to look up, look down and all around you to really observe things you might be missing. Its so easy to be tunnel visioned in your thoughts or conversations.

Phyllis

Atlanta Gift Market was buzzing!

I just returned from a few days at the Atlanta Gift Market and was thrilled with how exciting, upbeat and busy market was. Market was really busy all 4 days that I was there and I consider it a good sign for the gift industry.

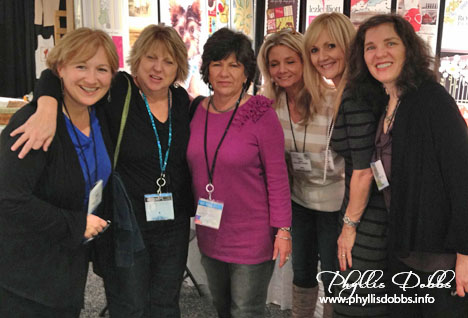
Its always fabulous to walk market and see all the new products (many of which are designed by my artist friends). And its always fun to meet up with these friends. I can’t take pictures of the product displayed throughout market but its fun to take pictures of friends.

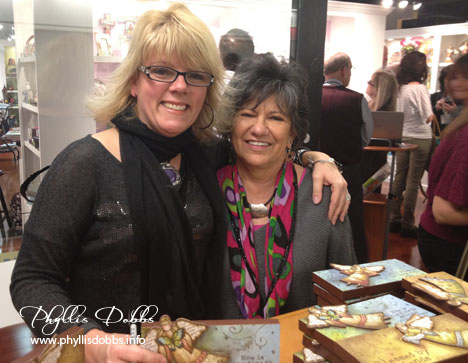
Robin Davis and Phyllis Dobbs at Atlanta Gift Market

I went to several artist’s signings, where they were autographing some of their products. Robin Davis adorable new line Blessings with Wings is with Carson.

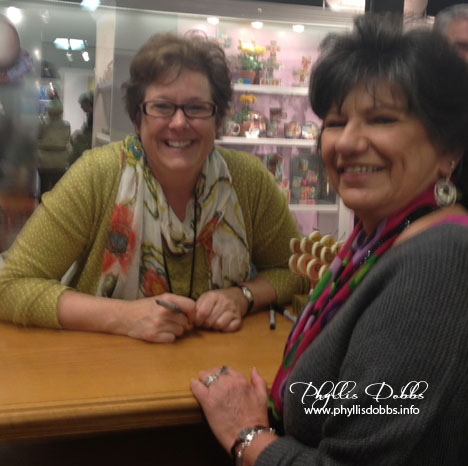
Lori Siebert and Phyllis Dobbs at Atlanta Gift Market

Lori Siebert was autographing her new products with Carson as well. I have to tell you that Lori was wearing the most fabulous and colorful boots (much like her art). I did try to take a picture of them but it turned out really blurry but take my word, they were great.

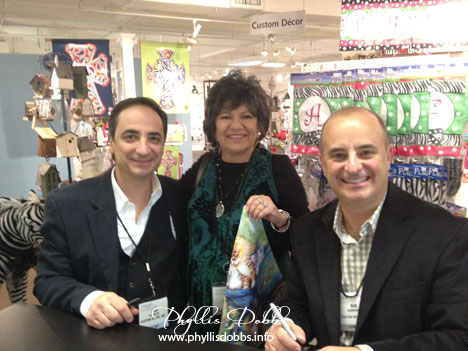
Bob and Greg Giordano at signing in Atlanta

The fabulous Giordano brothers, Greg on the left and Bob on the right were both autographing some of their many flags at the Custom Decor showroom. I’m doing a pretty wimpy job of holding the flag.

Artists meeting up in the License and Design at Atlanta Gift Market

My agent, Jewel Branding and Licensing, was exhibiting in the License and Design section that is held at the January markets. On Thursday, after the License and Design was set up, several of us met for an impromptu photo op – Robin Pickens, Brenda Pinnick, myself, Shelly Comiskey, Karen Embry and Sue Zipkin.

Artist meet up at the Westin at Atlanta Gift Market

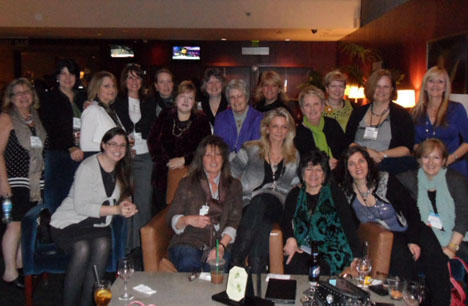
And for a period to get together and talk a bit, there was an artists gathering at the Westin on Friday afternoon.  You may see several of your favorite artists here – Teri Conrad, Paula Joerling, Joyce Shelton, BJ Lantz, Gina Wilder, Jane Maday, Sharon Himes, Robin Davis, Beth Yarbrough, Beth Logan, Audrey Jeanne Roberts, Karen Embry, and on the front row, Cherish Flieder, Janet Wecker Frisch, Shelly Comiskey, myself, Sue Zipkin, and Robin Pickens. Getting us all together for this photo was like herding cats and several got away. (Thanks to Shelly for this photo as mine didn’t turn out!)

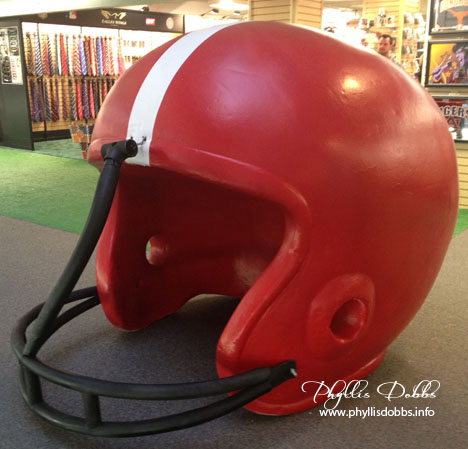
Large red and white football helment

As I was walking through Building 3 of the market, I saw this giant red and white helmet. I’m assuming it was due (or  I’m attributing it) to Alabama’s win of the BSC bowl last week. There was definitely a lot of Alabama items showing throughout the showrooms.

I’m back in full work mode, but will be leaving next week for Anaheim for the Craft and Hobby show (CHA). Check back as I can show lots of product from this show.

Phyllis

Sew an Apron With This Pattern!

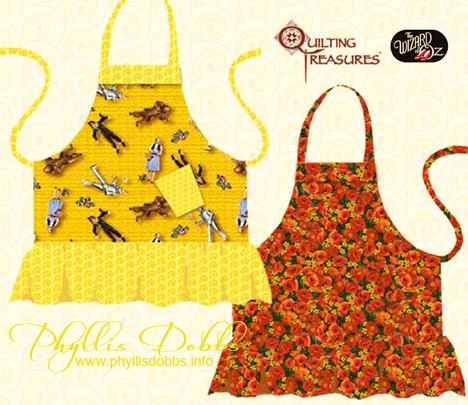
You can’t have too many aprons, right? They are fun to make and fun to wear. This is an apron pattern that I designed for Quilting Treasures and is available in their free patterns and projects download on their website. (NOTE – this pattern is no longer available on Quilting Treasures website. I have designed a similar apron pattern that is available at Etsy WhimsyColor.

Wizard of Oz Free Apron Pattern

The aprons are designed with The Wizard of Oz fabrics by Quilting Treasures.  I love the bright colors!  And I, like I think everyone in the universe, have always been a huge fan of The Wizard of Oz. I’m still hoping for Dorothy’s red shoes.

This apron is easy to make in just a couple of hours of sewing.  You can make it with two or three coordinating fabrics or sew it with just one fabric for two different looks.

Happy sewing with your apron.  With these free patterns, it is easy to get started.

Phyllis

Hi Resolution – New Years Studio Meet and Greet!

Welcome to my studio! I am joining with 11 other artists on a hop through our studios. We are showing you where we spend the majority of our time, creating new art, designs, and other creative endeavors. I invite you to check out each of the fabulous studios of the other artists by clicking on the links below or the forward button.

New Years Artist Studio Visit

The artists participating in this hop are:

Aaron Christensen

Barbara Johansen-Newman

Beth Logan

Brenda Pinnick

J. Wecker-Frisch

Karen Embry

Paula Joerling

Phyllis Dobbs

Samantha Walker

Sharon Himes

Shelly Comiskey

Sue Zipkin

My studio is a work in progress and if I ever finish it, I will probably be starting over within a few weeks! I work best with everything completely organized (not that I stay organized) and have created distinct areas in my studio for the way I work. I keep striving for the perfect work flow to fit me and the various techniques that I use. After a recent big upheaval and reorganization of my studio, I think I have found the best arrangement for me, although I’m 100% sure I will continue to tweak it.

I am both and artist and designer.  My art is licensed for various products such as fabrics, garden flags, kitchen textiles and more. I also design quilt and sewing patterns and have a new quilt book debuting in April. In addition I work with textiles and mixed media.  So with working in all 3 of these mediums, I have have tons of “stuff” that I use.  So all of my supplies need to be where I can find them easily in addition to being close at hand.
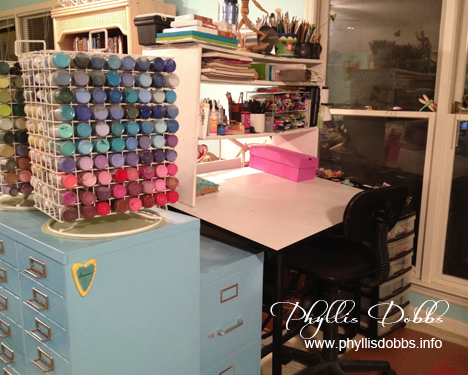
Pyllis Dobbs Studio Drawing and Painting Table

My drawing/painting table and supplies are located next to a set triple windows so I can catch the natural light. Sometimes it’s hard to keep my focus inside.  I have 2 plastic storage units with drawers to hold paints and painting supplies. They tuck neatly under the left edge of my table when not in use and are easy to pull out when I need them. I’ve been repainting a lot of my studio furnishings and have painted the filing cabinet and the multi-drawer cabinet turquoise. Both are great for holding additional supplies. The cabinet with the small drawers has 30 drawers and is my favorite for storage.
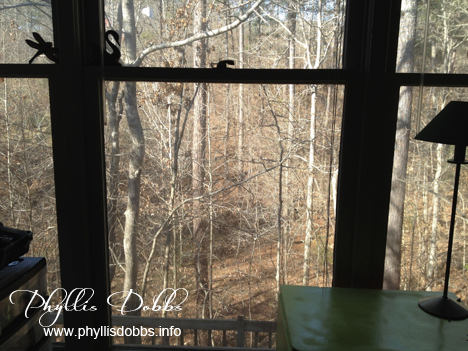
Studio View

My studio is on the 2nd floor of my home but the view from my windows is like looking from a 5th floor window or a treehouse. Our backyard drops at a steep slant to a bubbly creek at the bottom.  Although I like the winter view, my favorite is the spring and summer with all the green. The fall is also beautiful with the golds, oranges and reds as the leaves turn. Like I said, sometimes its hard to keep my focus inside, especially when there is a woodpecker knocking away.
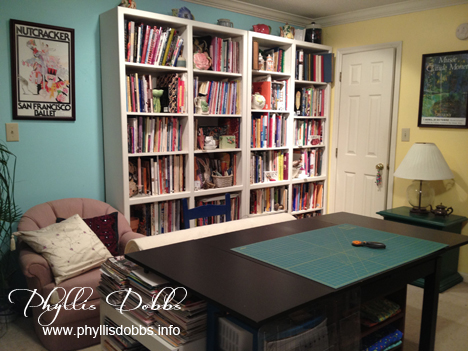
Studio cutting table

My fabric cutting table is set up in front of bookshelves filled with all my craft, needlework and quilting books. I love books as well as magazines (stacks of which are at one end of the cutting table). I use an antique chair that was my grandmothers to hold a large roll of batting behind the table making the batting easy to pull out as I need it. My cutting rulers are stored under the table and another plastic drawer unit and a low book shelf unit tucked under the table hold all my cutting tools and supplies.
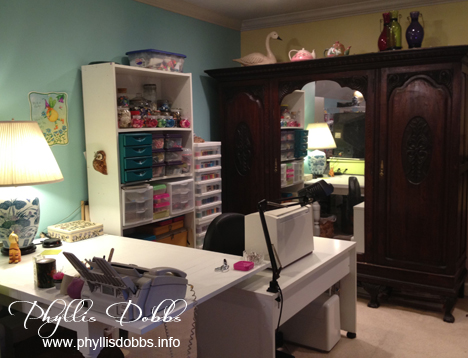
Studio sewing area

My sewing area is set up in one end of my studio with an antique pub table painted white and a low white table. I store fabrics in an antique triple armoire that I bought at an auction years ago. To keep all my threads, fibers, buttons and all things related to sewing handy, I use two plastic drawer units stacked together as well as a white bookcase loaded with smaller draw units. I save all sizes of jars to hold buttons, pins, and anything else that needs a home.
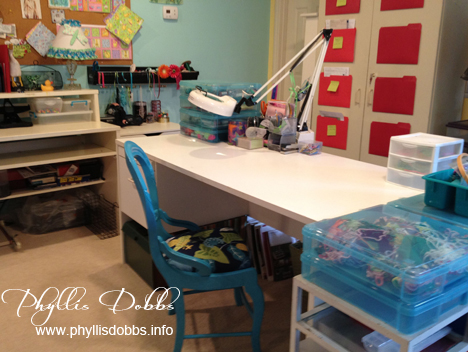
Studio crafting and work area

This table is my play space. I craft, draw, play with textiles, ribbons and beads, and create mixed media here. For a before and after makeover of the chair, visit my chair makeover post. You can’t see them all but I have lots of storage boxes filled with the supplies I use in this area. You can see a black ribbon storage rack on the wall and part of my 8 ft. cork idea board.  You may wonder what I do with all those red folders on the cabinet behind the table.
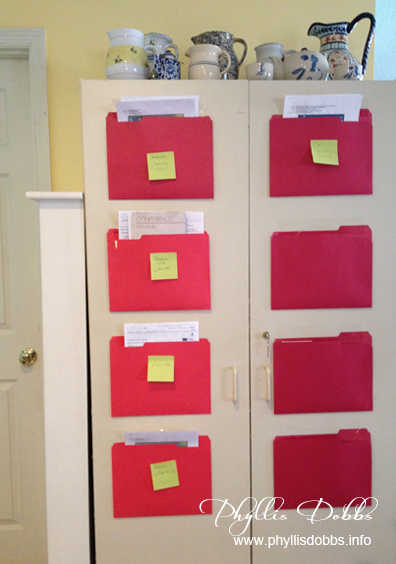
Red folders for organization

I travel a lot with my business and accumulate a lot of paper for each trip – hotel and airline reservations, badge and show information, and classes plus a multitude of other papers related to a trip. I used to have a horrible time keeping up with the papers for each trip, having to rush around at the last minute searching through stacks of  papers or files. So I came up with the “Red Folder Method of Keeping Travel Records Straight”. I taped red folders on the front of this cabinet and annotate each folder with a post it note for the trip. Then I put all my papers for that trip in the folder as I receive them. I keep the trips in order and move the information up after a trip. It works for me and has been a big help with my travel organization.
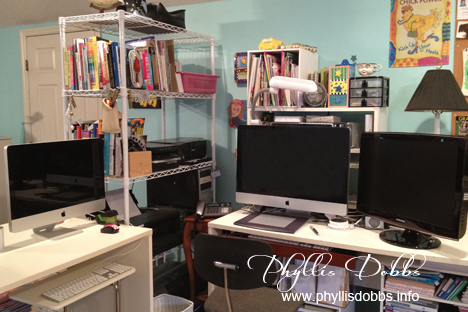
Computer area in the Phyllis Dobbs' studio

This area is the brain of my studio – the computers where I put it all together digitally. A shelf unit holds the printers and scanners close for easy access and so I don’t have to reach too far. All my papers for printing are stacked on a shelf unit under my desk. The desks with the computers plus the crafting work desk above form a large U shape area that works fabulously for me.
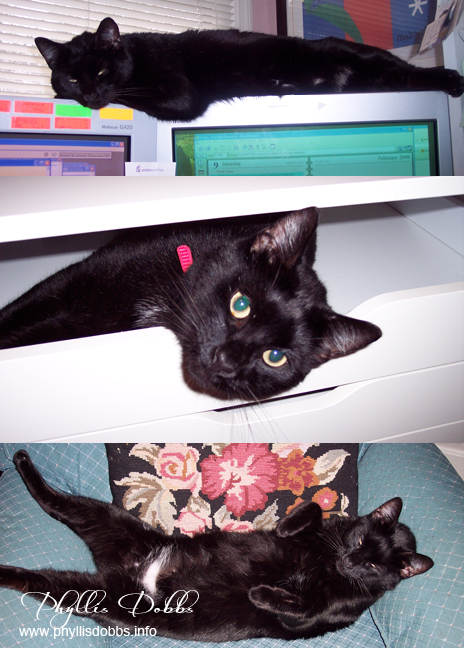
Phyllis Dobbs Studio Cat

And, what studio is complete without a studio cat (or dog). I adopted Kitty Kat when he was about 6 months old and since he answered to Kitty, I kept that as his name. I should have named him Lucky because he lives a life of relaxation and luxury and thinks he’s boss of the house. He loved my old CRT monitors in the top picture, but didn’t like it much when I went to flat screens. He loves helping me put together things, such as this Ikea drawer unit – maybe its the supervising part he loves. But resting in a chair close by while I work is his favorite activity. I think he’s wishing for a hammock.

Thanks for visiting and please hop forward to visit the other artists studios!

New Years Blog Hop Forward

Phyllis

Happy New Year and a One-word New Year’s Resolution!

Each year, as the year gets close to the end, I always wonder how can it be over already. It seems like only a few months have passed. I think working hard and working with something I love makes the time fly faster. I love creating both new art and new quilting/sewing designs so the days just whiz by.

Thinking ahead to the new year always brings thoughts of new resolutions. But by January 10th or so (if that long), they are usually forgotten as I’ve settled back into my normal daily routine. So, I’ve settled on one word for next year’s resolution – TRY. That’s all one can do, and my “try” will be trying some new things and some new directions as well expanding on the things I’m already doing. OK, I know there’s only so many hours in the day to “try” to squeeze my new resolution in, but there are some 2-word sub-resolutions that can help, “Better Organization” or “Less Sleep” (I really don’t like the last one so I need to work on the first).

New Years resolution - try

TRY reminds me of an old saying “If at first you don’t succeed, try, try again”. I’m not quite sure I like that saying because you don’t have to fail or not succeed to keep trying. By trying, you can improve on something good or successful. TRY can also cover a multitude of plans, from trying to be a better person to trying to keep my plants alive by remembering to water them.

Thinking back over the past year, I am thankful for many things. Foremost, I’m thankful for my family and friends. My son moved back to Birmingham this year, to my delight, so I get to see him much more often. I enjoyed spending more time with other members of my family as well as friends.

I am thankful for all of you who read my blog, comment or send me emails. You all mean more to me than you know!

I wish each of you a great and Happy New Year, peace and happiness!  I hope your wishes and dreams come true!

Phyllis
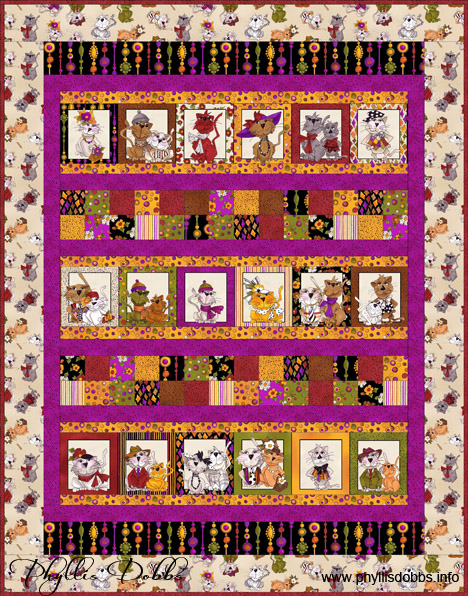
 

Free Quilt pattern using Spice Cats Fabrics by Loralie

I’m excited to show you the latest quilt that I designed for free download from Quilting Treasures‘ website. Designed with Loralie’s newest fabric collection, Spice Cats, these fun and whimsy cats will completely charm all you cat lovers.  I love the colors of this collection and the way they work together.

Spice Cats Quilt free pattern from Quilting Treasures

The quilt is designed in horizontal rows and is very easy to sew.  The size is 56″ x 72″, a great size for a throw to keep warm on these cold nights.

I designed other quilts with Loralie’s fabrics for free download from Quilting Treasures website. The Sunshine Resort quilt is a fun quilt with flip flops, ice cream, Loralie’s ladies swimming and other summer activities. The Nurse Central quilt is delightful for nurses with Loralie’s nurses and other nursing designs. There are a lot of other quilt patterns for free download, so check them out.

Happy quilting!

Phyllis

New Seminar Location in Atlanta for New Dynamics of Art Licensing

We’ve been so happy with the response that we’ve received for our exciting new seminar The New Dynamics of Art Licensing (see my prior post)!  And, because we’ve also have had several creative’s asking if were were having it at other locations, we’ve decided to offer this seminar during the Atlanta Gift Market on January 12, 2012 (Thursday afternoon 2:30- 4:30 pm, the location to be announced later but close to the gift market).


New Dynamics of Art Licensing Logo

The New Dynamics of Art Licensing is being presented by Karen Embry, Brenda Pinnick and myself, 3 artists with over 50 combine experience with art and design licensing.

For more information on all the topics we will be discussing, please download The New Dynamics of Art Licensing brochure.  We are also having a portfolio review/consult in Atlanta.

We hope you will join us and get the up-to-date information on how to license your art, designs and products.

Phyllis
Trying a New Craft Technique

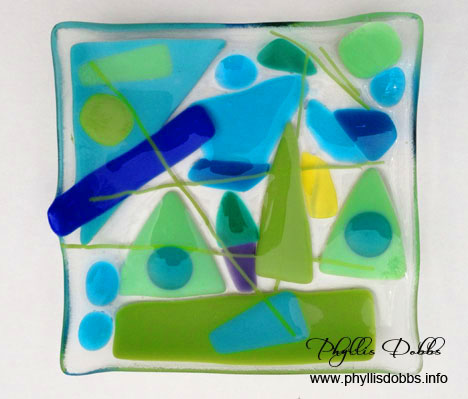
I love crafting and always have. I started crafting as a kid. Before I became a professional designer, I took every craft class and tried every type of craft that came along. I still take classes whenever possible and love trying new (to me) types of crafts. I’m a huge fan of glass and when a fused glass class became available recently, I jumped at it, signing up immediately.  We made 2 projects during the evening classes. I really enjoyed playing with the glass in arranging colors and pieces to make my first project, a shallow dish. I wanted it to look abstract and while it won’t win an award, I love the way it turned out. It was very informative and interesting in seeing how different colors of glass and opaque and transparent glasses work together.

Fused glass dish made in class


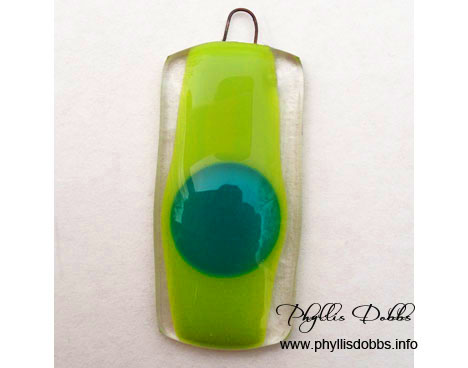
The class included a second project which was a pendent. Somehow I thought the pendent would be much easier – wrong!  I tried arranging several small pieces to create a design. But because everything was so small, I kept bumping the pieces after I arranged some, messing up my design. A large pair of tweezers would have helped. It was getting late so I took the easy way out after many attempts with the small pieces and used 2 large pieces.


Fused Glass pendent made in class

I plan to go back and create some more fused glass pieces as well as take other classes on different mediums. Even though my days and business are based on creating, I still find it relaxing and inspiring to craft and love working with my hands to make something.

I hope you are having a crafty day! (And if you have children, introduce them to crafting if you haven’t already – it will start a life long love of creating something!)

Phyllis
Redux – Paint a Flower Pot for Holiday Entertaining or Decorating

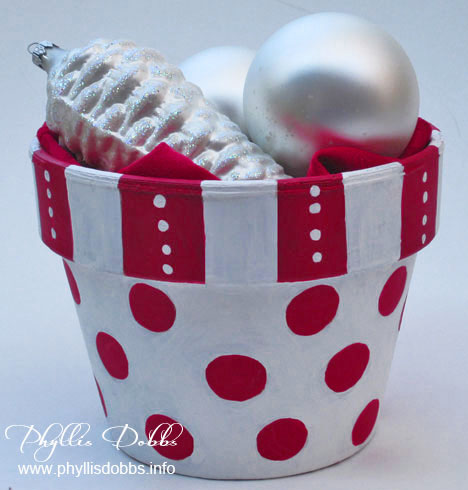
The holidays are rapidly approaching but there’s still time to create some great craft projects to help with decorating and entertaining. I want to share one of my earlier Christmas craft projects that is so quick and easy to make and has so many uses – the versatile terra cotta flower pot painted in holiday colors.
Christmas flower pot for entertaining

This painted flower pot can be used to hold food like cookies and candy (line the pot with a napkin first so that the food doesn’t touch the paint). For decorating use, it can hold ornaments or a plant. The size of pot that you use can also determine the use. A small 3 or 4 inch pot can be filled with food or small gift and given as a gift, or placed by the plates at a dinner party as a favor. Simply line with cellophane, tissue paper or fabric, add a food item or other small gift, bunch at the top and tie with a ribbon. Let your imagination come up with many more uses.

I used red and white for Christmas (which can also double as my school colors), but you can use other colors for different holidays – red, white and blue for the 4th of July, shades of green for St. Patrick’s Day, bright fun colors for a birthday, pastels for Easter, and so on. I also painted a flower pot for Halloween.

Easy peasy! I used a very simple design that is very easy to draw.

Wash the flower pot and go over it with alcohol to disinfect it.  With a pencil draw the lines for the stripes around the rim and draw 1/2″ circles randomly below the rim (or create your own design). Paint as shown in the photo.  I recommend painting one color at a time, allowing it to dry before painting with the second color. The white dots on the stripe were added last, after all drying. When all the paint is dry, seal with a coat of clear satin acrylic.

Enjoy!

Phyllis