Terrorific Tuesday – Halloween DIY projects for each week!

terrorific tuesday 2010 week 1

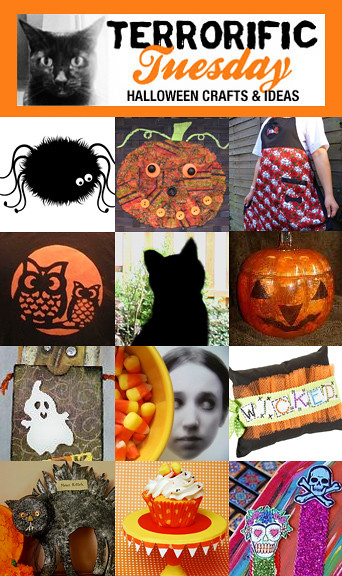
Kate Pullen shares 3 cute digital stamps Free cute spider digital stamps.

Phyllis Dobbs makes an easy Halloween Decopauge Pumpkin Treat Basket.

Jenna Excell shares her super cute and spooky Bones Halloween Apron.

Korinne Zimmerman a.k.a. Crafterella makes a wonderful spray bleach shirt using an adorable Moon Owl Stencil.

Glory’s Mischief haunts her house with her Faux Cats in window.

Ann Butler makes this boo-tiful Reverse Collage Decopauge Jack-o-Lantern.

Eileen Hull tucks away Halloween cards in this fun Sizzix ScoreBoard notebook pocket.

Silvia Chenault and Patty Cappelluti share two super spooky projects on Silvia’s blog: Vampire Art and Creepy Mirrors!

Pattiewack shows you how to make this cute and Wicked Pillow.

Messy Missy brings the LOLs with her Mean Kitteh.

Alexa Westerfield a.k.a. Swelldesigner whips up a Cute Candy Corn CD Cupcake Stand .

Kathy Murillo a.k.a. Crafty Chica delights us with glittery Skull Bookmarks.

That’s it for this week! If you are interested in playing in Swelldesigner’s Terrorific Tuesday roundup, e-mail her at swelldesigner (at) gmail (dot) com and she’ll send you the details!

Halloween Craft – Decoupaged Pumpkin Treat Basket

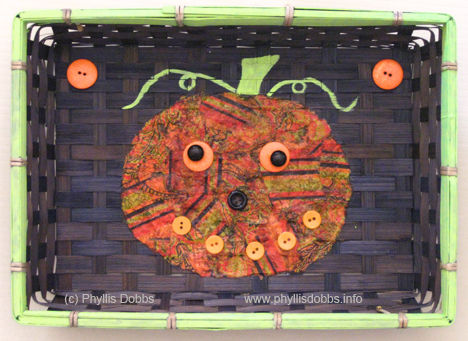
Make an easy Halloween Basket to hold candy for trick-or-treaters.  All is takes is a basket to decorate (I found this one at Goodwill for $1) and a few supplies.

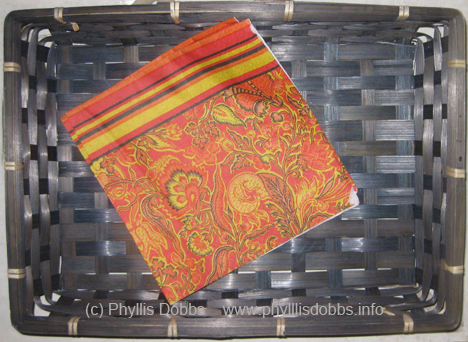
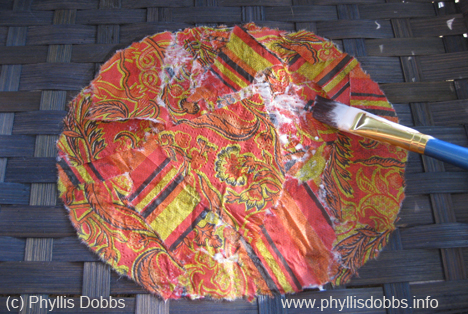
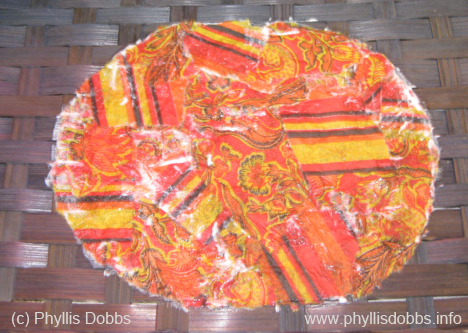
The pumpkin was created with a paper napkin torn into pieces then decoupaged with Mod Podge.

Supplies –

Basket

Mod Podge

Assorted orange and black buttons

Green Paint (Plaid Folk Art)

Paper Napkin or other orange pattern paper

Paint brushes

I found these gorgeous paper napkins at Tuesday Morning.  They are the perfect colors for Halloween and the fall season.

After drawing pumpkin shape on the basket, I tore the napkins into assorted sizes and shapes, with curved edges on some to loosely fit the curved edge of the pumpkin. Then I applied Mod Podge with a brush to the basket inside the pumpkin area, a section at a time.  I added the pieces of torn napkin on to the area with the Mod Podge, overlapping pieces and fitting the curved edges along the outside edge of the pumpkin.

After filing the pumpkin and I keep adding the paper pieces so that there were 2 layers of paper for the pumpkin.

When all the napkin pieces were in place, I applied a final coat of Mod Podge on the top of the pumpkin to seal the paper.

After the pumpkin dried, I painted the stem and vine as well as around the rim of the basket.  I glued buttons for eyes with smaller round black buttons on larger orange buttons.  A black button was used for the nose and a row of small orange buttons for the mouth.  A large orange button was glued in the top corners.

I wish you a boo-dashious Halloween.  Please check back – I’m working on several more crafty and sewing items for Halloween!

Phyllis