Great Products and Great Displays at Craft & Hobby (CHA) Winter Show

After spending several days in southern California for the Craft and Hobby Association (CHA) winter show, I came home inspired and excited. I took photos of the fabulous products and displays, so many photos that I will have to divide my CHA review into two parts. CHA is a huge show with such a variety of products in about all crafting cagtegories. The variety is one of the things I love about the show.

The trends that I noticed at the show included lots of paper sculpture as well as bead sculpture, glass mosaics, beads and needlework to include both embroidery (and Crewel) and felt. I’m sure I missed some other trends, but these caught my attention.

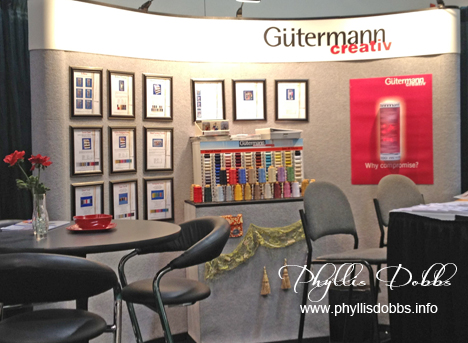
I was working in the Gutermann booth surrounded by the beautiful and high quality Gutermann threads.

Gutermann booth at CHA winter show

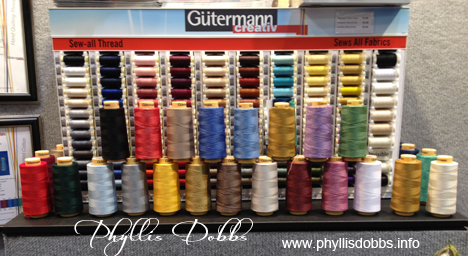
Gutermann threads display

I love the wide assortment of the in both cotton and silk.  Watch for designs and projects that I will be creating using their threads – comiong soon!
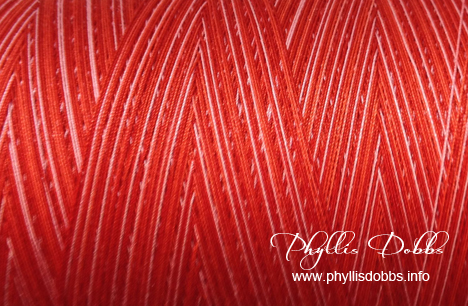
Gutermann thread patternI took a closeup of one spool of the varigated thread.  I loved the pattern created by the thread winding and the brilliant varigated color. Opening your eyes to things close  around you can give you beautiful patterns.

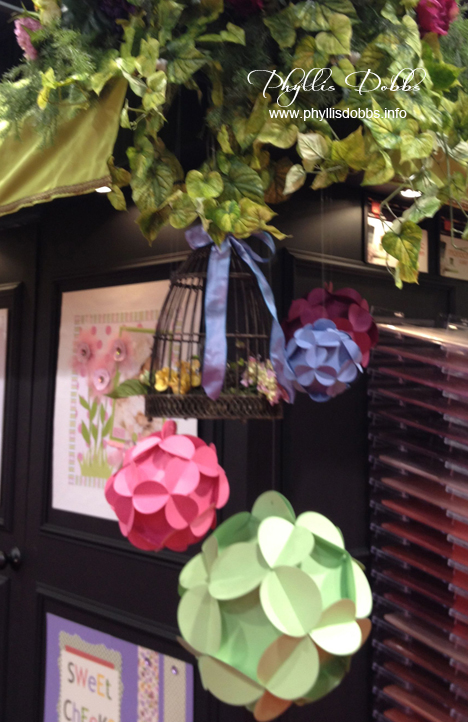
Brazzill Basic Papers sculpture

Brazzill Basic Papers had beautiful displays of sculptured flowers.  This display was hanging in a corner of the booth. A beautiful, larger display was in the center of the booth, but they were so busy and crowded with buyers, I could not get to it to take a photo.

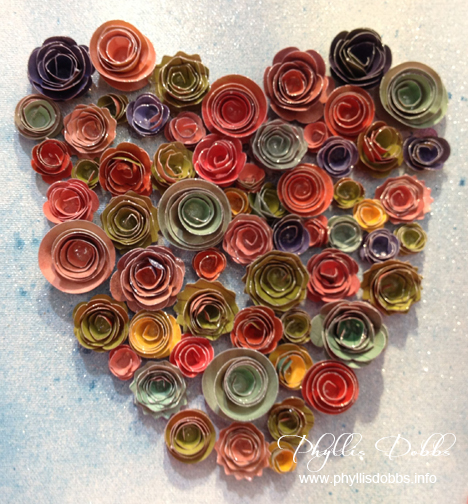
Therm-o-Web glittered sculpure heart

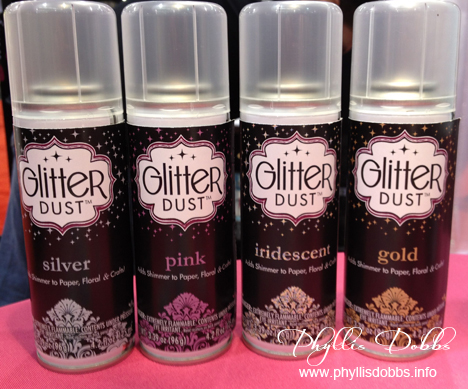
Therm O Web demonstrated a new glitter – Glitter Dust, that gives a light sprinkling of glitter by aerosol.  The paper sculptured heart consisted of various sizes of flowers, all with a light coating of Glitter Dust.

Therm O Web Glitter Dust

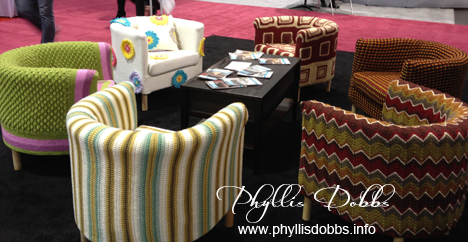
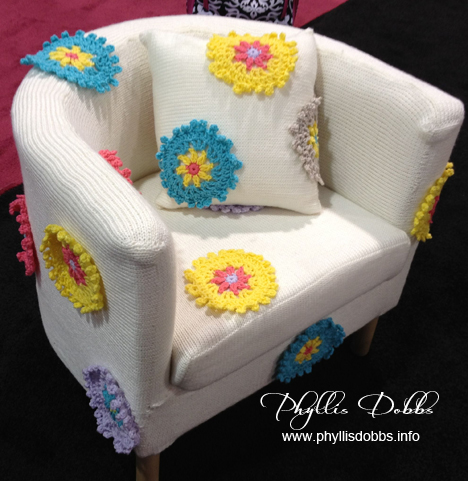
Knitting and crochet are so versatile, as can be seen by the display in the Bernat booth with these chairs.

Bernat knitted and crochet chair coverings at CHA

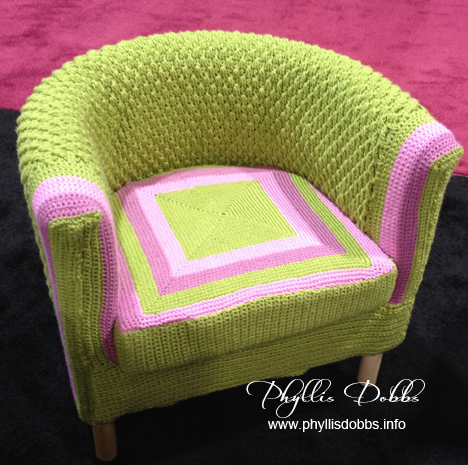
These chair covers were knitted and crocheted using Waverly for Bernat, based on 5 of Waverly’s popular patterns.  The yarns are in color collections based on the colors of the patterns. You can see my favorite 2 chairs below.

Bernat Green crocheted chair at CHA

Crochet and knit chair at winter CHA by Bernat

Aren’t they wonderful!!

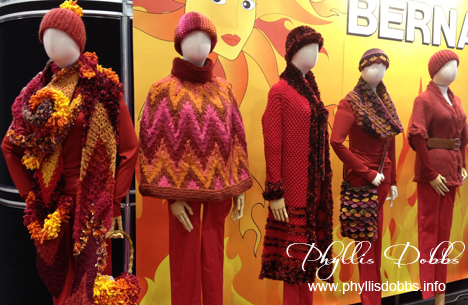
Bernat clothing and accessories at CHA

And I just love these sweaters and accessories also in the Bernat booth. I will take one of each! I really love the colors of this display.

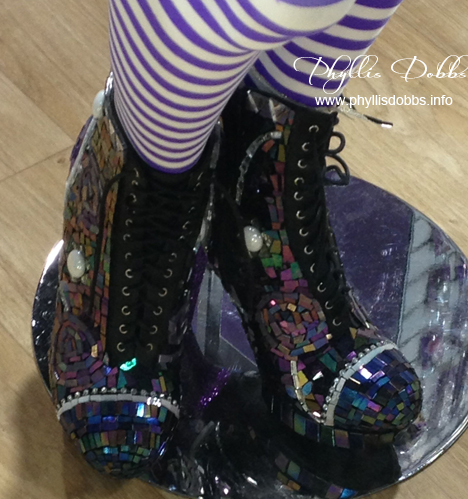
Glass mosaic boots by I Love to Create at CHA

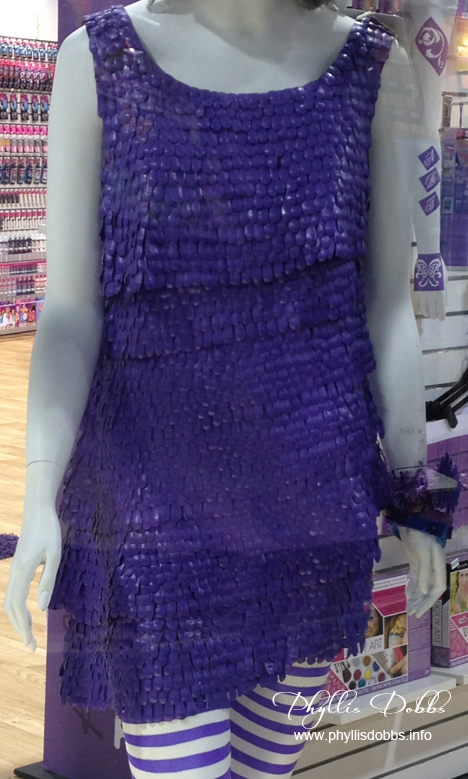
Dress made with paper plates by ILovetoCreate at CHA

The ILovetoCreate booth was filled with several wonderful displays created by EdoHeidi Borchers and Tiffany Windsor. Heidi created the mosaic boots using over 2000 pieces of mosaic tiles and buttons. They were gorgeous!  The dress was designed by Heidi and Tiffany with 90 paper plates hand cut into over 5000 petals, glued and painted to look like faux leather.  This was a stunning display to show the uses of Aleene’s glue.

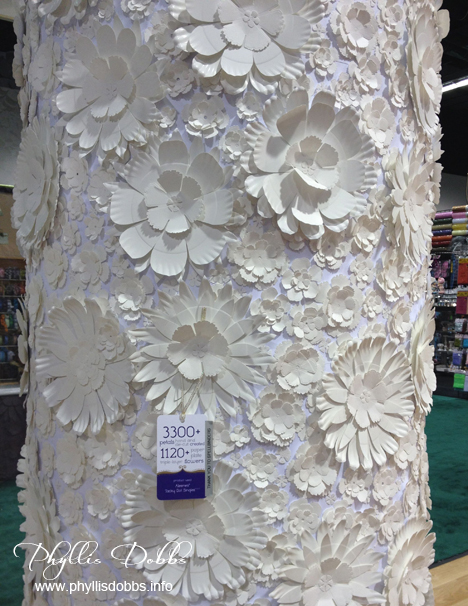
Decorated white column ILovetoCreate CHA

This large column, designed by Tiffany and Heidi, is decorated with 1200 paper plate hand and die cut into over 3300 pieces.

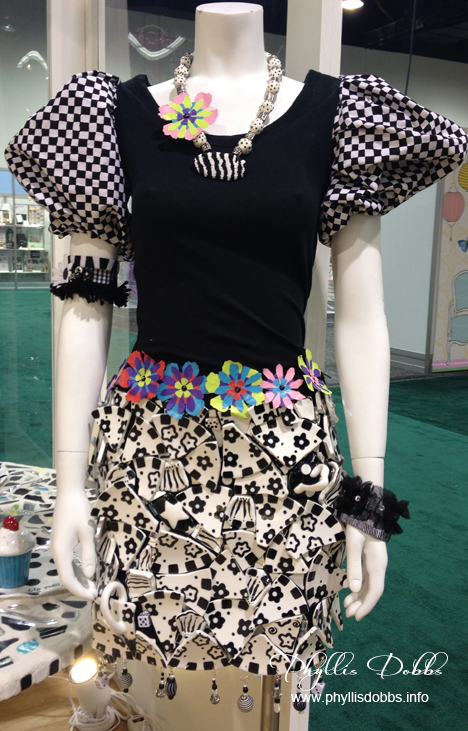
Mosaic skirt created with broken china in ILovetoCreate booth at CHA

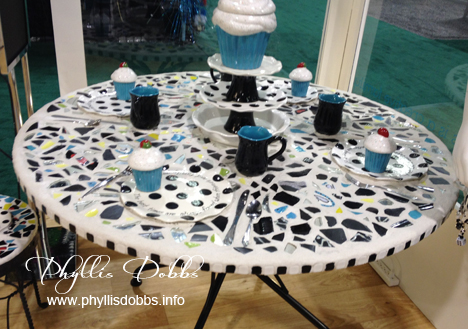
Mosaic table by ILovetoCreate at CHA

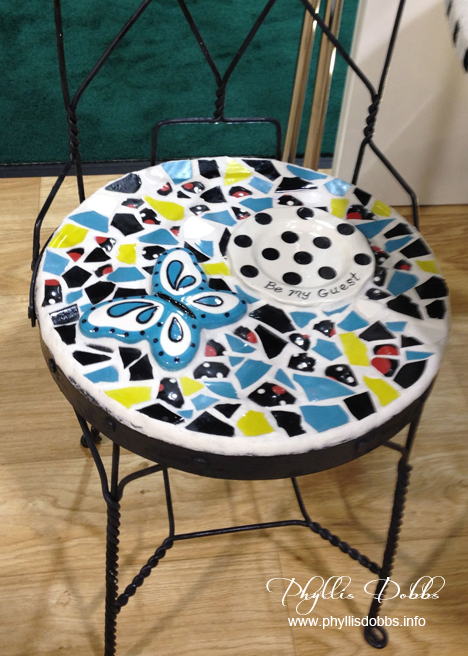
Broken china mosaic chair by ILovetoCreate at CHA

This display of mosaics was also designed by Heidi and Tiffany for ILovetoCreate. I love the skirt!  It’s made with broken china – cups and plates.  Its really a work of art! The table and chair are mosaics using broken china.  All three pieces created a beautiful setting.

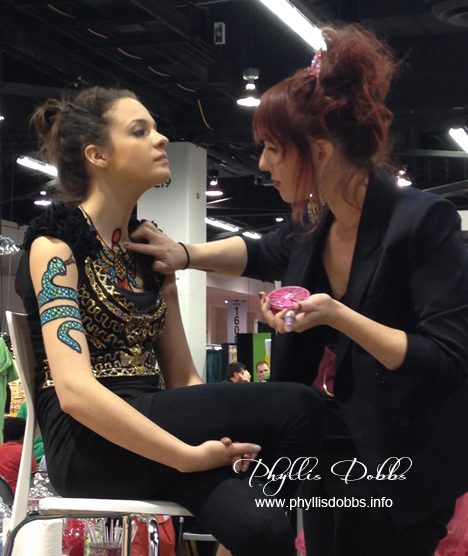
Tulip body painting by IlovetoCreate at CHA

ILovetoCreate also has Tulip paints for body painting. A different design was painted each day.  The pretty model is Savannah Starr, Heidi’s granddaughter. I wonder if it tickles but it would be fun to paint and wear!

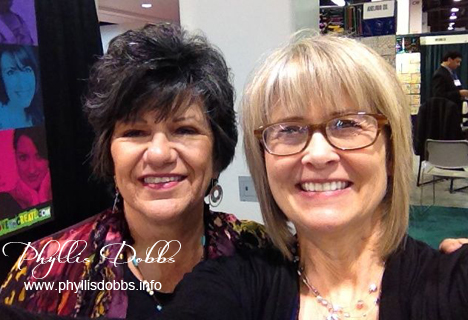
Phyllis Dobbs with Tiffany Windsor of ILovetoCreate at CHA

Tiffany is pictured here with me when I ran into her at the show. Besides being a great designer, Tiffany also hosts the Cool2Craft network.

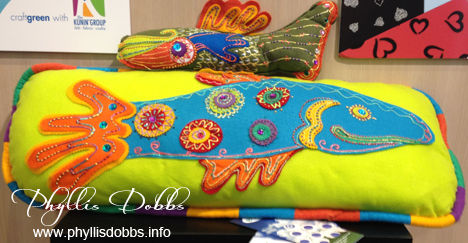
Felt fish pillows by Kunin Group at CHA

The Kunin Group had adorable projects in their booth with colorful felt, including the this fish pillow and the stuffed fish.

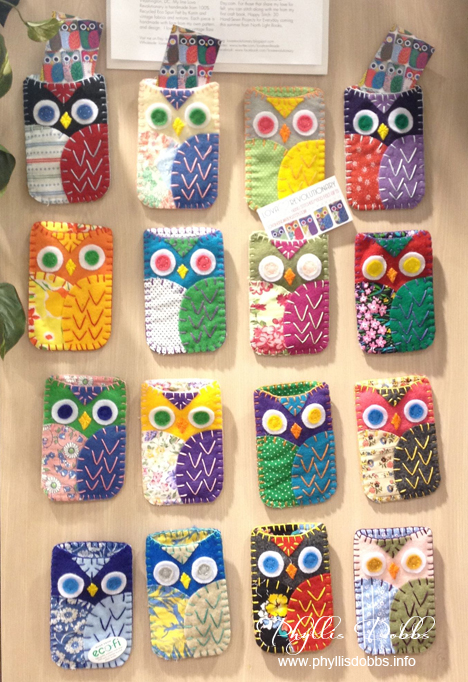
Cell phone cases made with Kunin felt at CHA

The cell phone cases were one of the displays in the Kunin Group booth.  They are just too cute and are by Jodie Haffa of Lova Revolutionary.

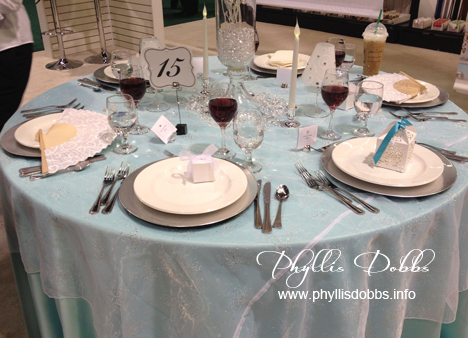
Bridal accessories by Darice at CHA

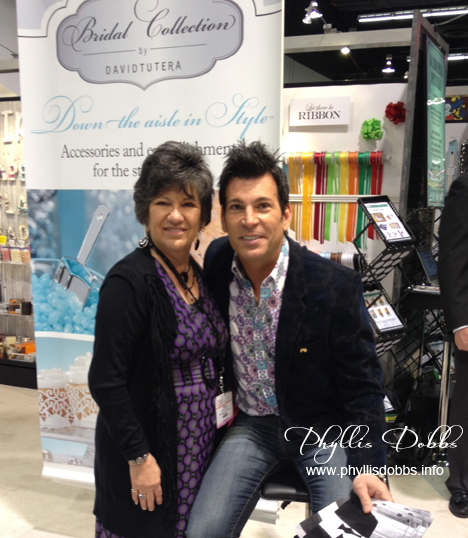
David Tutera at Darice booth at CHA

David Tutera, wedding expert and host of My Fair Wedding on WeTV, has a bridal accessory line with Darice. Some of the products are used for the beautiful table setting above. And as you can see, I got to get a picture taken with David.

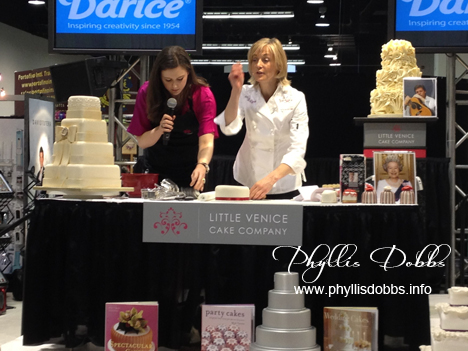
Mich Turner of Little Venice Cakes at Darice CHA

Mich Turner of Little Venice Cake Company, London, has a line of baking accessories also with Darice. Mich, the Queen of Couture Cakes, is demonstrating on the Darice stage.  Those cakes really look yummy!

Check back for part 2 of my review of CHA.  I have lots more to show you!

Phyllis

Back from the Craft and Hobby (CHA) Winter Trade Show in Anaheim, CA

I just returned from the Craft and Hobby (CHA) Winter Trade Show in Anaheim, CA, in the Convention Center next door to Disneyland. It was great seeing lots of new and fun products as well as lots of friends. I attended several of the educational seminars that were packed with information. I took so many pictures (almost 300), so I have bunches of photos to go through so I can post them (much less than the 300) and  show you the things that caught my attention.

But I want to go ahead and post a link to one of the fun events of the trip. I participated in a flash mob dance “She’s Crafty” before the opening of the show. It was organized by CharityWings.org to earn money for charity and the flash mob consisted of almost 100 artists, designers, business owners and more. It was my first flash mob but I was enjoying the moment and kept forgetting to count the dance steps.

Please check back soon to see my photos from CHA of new products, great displays, and more.

Phyllis

I’m off to the CHA Winter Show (the Craft & Hobby Association)

I’m really looking forward to attending CHA, the trade show for the Craft and Hobby Association for a few days and as well as the warm weather in Anaheim, CA.  I always love attending this show to see new products, take the educational seminars, and for the exciting atmosphere of the show.

CHA Craft and Hobby Association

I’m excited about the seminar The New Dynamics of Art Licensing that I along with Brenda Pinnick and Karen Embry will be teaching while we are in Anaheim. We have been really focused in putting the seminar together with some great information.  (You can click on the NDAL button in the sidebar to see more on what is being offered.)

At CHA, I will be working for Gutermann, so you can find me in their booth most of the time.  I’ve always loved the beautiful Gutermann threads and am delighted to be working with them.  So if  you are attending CHA, please stop by and say “hi”.

Gutermann threads

The Designer Showcase  is having a change in the format this year, focusing more on what the designers can do for a company.  I’ve always exhibited in the Designer Showcase and had been giving a lot of thought to my showcase this year. Then it just all finally  came together in a mental snap so all I had to do was gather up things I wanted to use and do a little printing. This year, it will also be open to everyone, except for non-CHA members.

I will be involved in something else at CHA that is really fun, but I can’t talk about it yet. But I can mark it off my bucket list. So you will have to check back to find out what this is – it will be videoed and out there for the world to see.  I just have to make sure I don’t mess up, but it will be among friends.  Speaking of friends, that’s another reason I love to attend CHA – to catch up with friends, network, and gab a little.

Check back and stay tuned – I may come back with a little gossip, or not (probably not). But I will have lots of photos of new products, great displays, splashes of fun and splashes of color.

Phyllis

Hi Resolution – New Years Studio Meet and Greet!

Welcome to my studio! I am joining with 11 other artists on a hop through our studios. We are showing you where we spend the majority of our time, creating new art, designs, and other creative endeavors. I invite you to check out each of the fabulous studios of the other artists by clicking on the links below or the forward button.

New Years Artist Studio Visit

The artists participating in this hop are:

Aaron Christensen

Barbara Johansen-Newman

Beth Logan

Brenda Pinnick

J. Wecker-Frisch

Karen Embry

Paula Joerling

Phyllis Dobbs

Samantha Walker

Sharon Himes

Shelly Comiskey

Sue Zipkin

My studio is a work in progress and if I ever finish it, I will probably be starting over within a few weeks! I work best with everything completely organized (not that I stay organized) and have created distinct areas in my studio for the way I work. I keep striving for the perfect work flow to fit me and the various techniques that I use. After a recent big upheaval and reorganization of my studio, I think I have found the best arrangement for me, although I’m 100% sure I will continue to tweak it.

I am both and artist and designer.  My art is licensed for various products such as fabrics, garden flags, kitchen textiles and more. I also design quilt and sewing patterns and have a new quilt book debuting in April. In addition I work with textiles and mixed media.  So with working in all 3 of these mediums, I have have tons of “stuff” that I use.  So all of my supplies need to be where I can find them easily in addition to being close at hand.

Pyllis Dobbs Studio Drawing and Painting Table

My drawing/painting table and supplies are located next to a set triple windows so I can catch the natural light. Sometimes it’s hard to keep my focus inside.  I have 2 plastic storage units with drawers to hold paints and painting supplies. They tuck neatly under the left edge of my table when not in use and are easy to pull out when I need them. I’ve been repainting a lot of my studio furnishings and have painted the filing cabinet and the multi-drawer cabinet turquoise. Both are great for holding additional supplies. The cabinet with the small drawers has 30 drawers and is my favorite for storage.

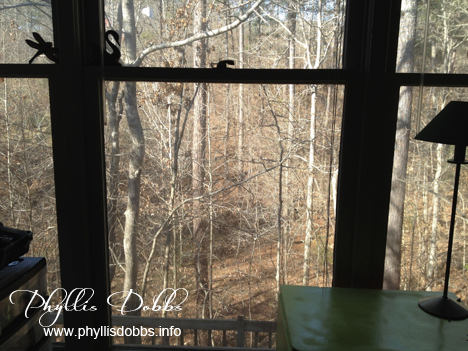
Studio View

My studio is on the 2nd floor of my home but the view from my windows is like looking from a 5th floor window or a treehouse. Our backyard drops at a steep slant to a bubbly creek at the bottom.  Although I like the winter view, my favorite is the spring and summer with all the green. The fall is also beautiful with the golds, oranges and reds as the leaves turn. Like I said, sometimes its hard to keep my focus inside, especially when there is a woodpecker knocking away.

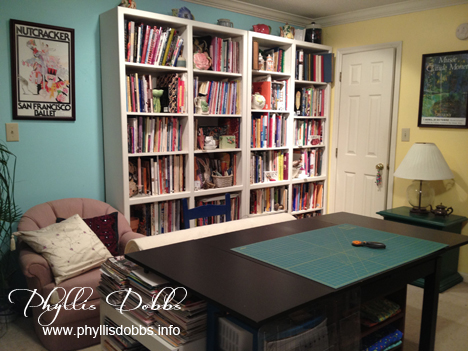
Studio cutting table

My fabric cutting table is set up in front of bookshelves filled with all my craft, needlework and quilting books. I love books as well as magazines (stacks of which are at one end of the cutting table). I use an antique chair that was my grandmothers to hold a large roll of batting behind the table making the batting easy to pull out as I need it. My cutting rulers are stored under the table and another plastic drawer unit and a low book shelf unit tucked under the table hold all my cutting tools and supplies.

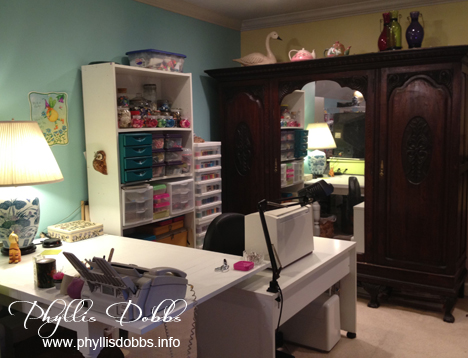
Studio sewing area

My sewing area is set up in one end of my studio with an antique pub table painted white and a low white table. I store fabrics in an antique triple armoire that I bought at an auction years ago. To keep all my threads, fibers, buttons and all things related to sewing handy, I use two plastic drawer units stacked together as well as a white bookcase loaded with smaller draw units. I save all sizes of jars to hold buttons, pins, and anything else that needs a home.

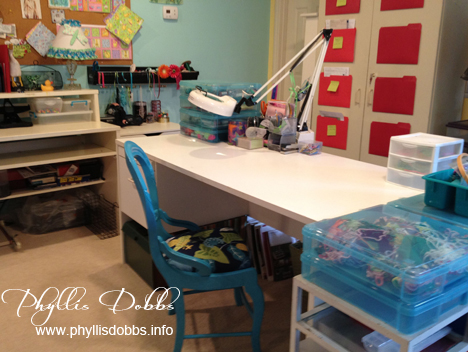
Studio crafting and work area

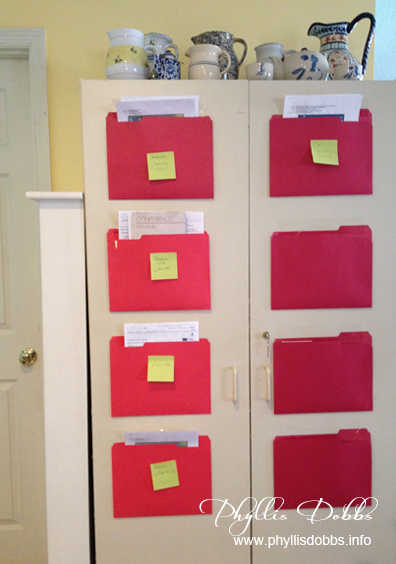
This table is my play space. I craft, draw, play with textiles, ribbons and beads, and create mixed media here. For a before and after makeover of the chair, visit my chair makeover post. You can’t see them all but I have lots of storage boxes filled with the supplies I use in this area. You can see a black ribbon storage rack on the wall and part of my 8 ft. cork idea board.  You may wonder what I do with all those red folders on the cabinet behind the table.

Red folders for organization

I travel a lot with my business and accumulate a lot of paper for each trip – hotel and airline reservations, badge and show information, and classes plus a multitude of other papers related to a trip. I used to have a horrible time keeping up with the papers for each trip, having to rush around at the last minute searching through stacks of  papers or files. So I came up with the “Red Folder Method of Keeping Travel Records Straight”. I taped red folders on the front of this cabinet and annotate each folder with a post it note for the trip. Then I put all my papers for that trip in the folder as I receive them. I keep the trips in order and move the information up after a trip. It works for me and has been a big help with my travel organization.

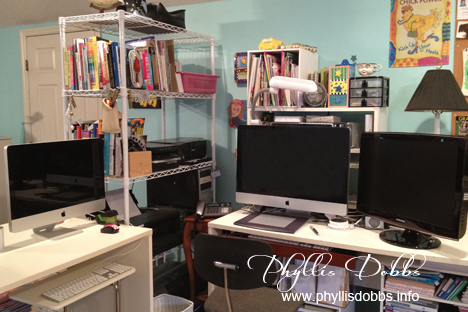
Computer area in the Phyllis Dobbs' studio

This area is the brain of my studio – the computers where I put it all together digitally. A shelf unit holds the printers and scanners close for easy access and so I don’t have to reach too far. All my papers for printing are stacked on a shelf unit under my desk. The desks with the computers plus the crafting work desk above form a large U shape area that works fabulously for me.

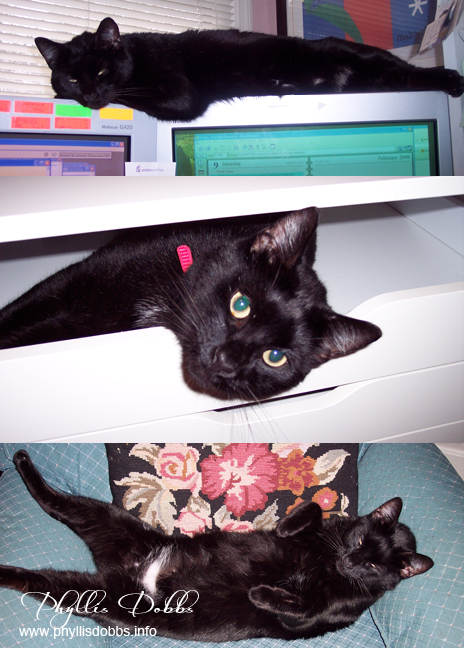
Phyllis Dobbs Studio Cat

And, what studio is complete without a studio cat (or dog). I adopted Kitty Kat when he was about 6 months old and since he answered to Kitty, I kept that as his name. I should have named him Lucky because he lives a life of relaxation and luxury and thinks he’s boss of the house. He loved my old CRT monitors in the top picture, but didn’t like it much when I went to flat screens. He loves helping me put together things, such as this Ikea drawer unit – maybe its the supervising part he loves. But resting in a chair close by while I work is his favorite activity. I think he’s wishing for a hammock.

Thanks for visiting and please hop forward to visit the other artists studios!

New Years Blog Hop Forward

Phyllis

Trying a New Craft Technique

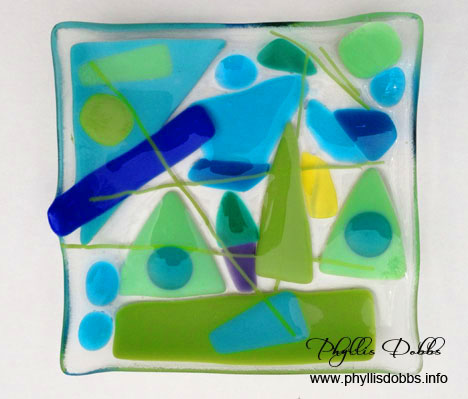
I love crafting and always have. I started crafting as a kid. Before I became a professional designer, I took every craft class and tried every type of craft that came along. I still take classes whenever possible and love trying new (to me) types of crafts. I’m a huge fan of glass and when a fused glass class became available recently, I jumped at it, signing up immediately.  We made 2 projects during the evening classes. I really enjoyed playing with the glass in arranging colors and pieces to make my first project, a shallow dish. I wanted it to look abstract and while it won’t win an award, I love the way it turned out. It was very informative and interesting in seeing how different colors of glass and opaque and transparent glasses work together.

Fused glass dish made in class


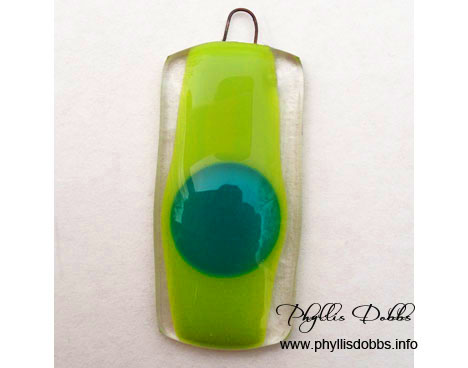
The class included a second project which was a pendent. Somehow I thought the pendent would be much easier – wrong!  I tried arranging several small pieces to create a design. But because everything was so small, I kept bumping the pieces after I arranged some, messing up my design. A large pair of tweezers would have helped. It was getting late so I took the easy way out after many attempts with the small pieces and used 2 large pieces.


Fused Glass pendent made in class

I plan to go back and create some more fused glass pieces as well as take other classes on different mediums. Even though my days and business are based on creating, I still find it relaxing and inspiring to craft and love working with my hands to make something.

I hope you are having a crafty day! (And if you have children, introduce them to crafting if you haven’t already – it will start a life long love of creating something!)

Phyllis

Redux – Paint a Flower Pot for Holiday Entertaining or Decorating

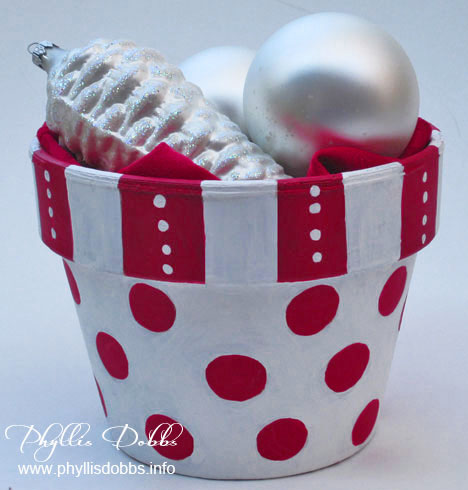
The holidays are rapidly approaching but there’s still time to create some great craft projects to help with decorating and entertaining. I want to share one of my earlier Christmas craft projects that is so quick and easy to make and has so many uses – the versatile terra cotta flower pot painted in holiday colors.

Christmas flower pot for entertaining

This painted flower pot can be used to hold food like cookies and candy (line the pot with a napkin first so that the food doesn’t touch the paint). For decorating use, it can hold ornaments or a plant. The size of pot that you use can also determine the use. A small 3 or 4 inch pot can be filled with food or small gift and given as a gift, or placed by the plates at a dinner party as a favor. Simply line with cellophane, tissue paper or fabric, add a food item or other small gift, bunch at the top and tie with a ribbon. Let your imagination come up with many more uses.

I used red and white for Christmas (which can also double as my school colors), but you can use other colors for different holidays – red, white and blue for the 4th of July, shades of green for St. Patrick’s Day, bright fun colors for a birthday, pastels for Easter, and so on. I also painted a flower pot for Halloween.

Easy peasy! I used a very simple design that is very easy to draw.

Wash the flower pot and go over it with alcohol to disinfect it.  With a pencil draw the lines for the stripes around the rim and draw 1/2″ circles randomly below the rim (or create your own design). Paint as shown in the photo.  I recommend painting one color at a time, allowing it to dry before painting with the second color. The white dots on the stripe were added last, after all drying. When all the paint is dry, seal with a coat of clear satin acrylic.

Enjoy!

Phyllis
Studio Make-over, One Piece at a Time

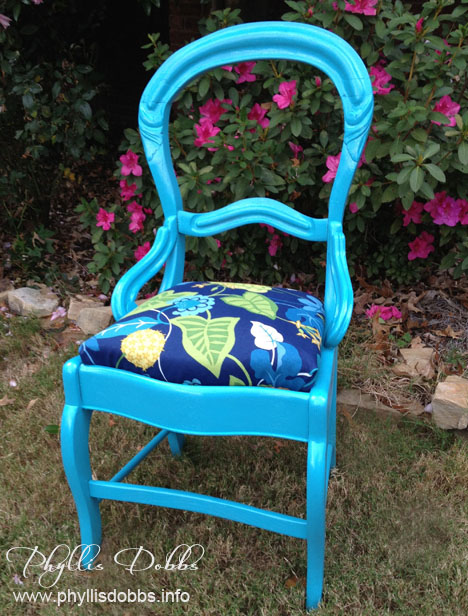
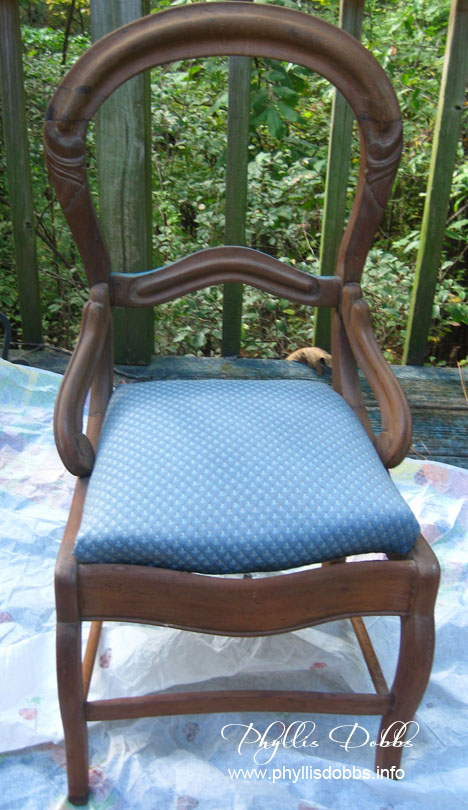
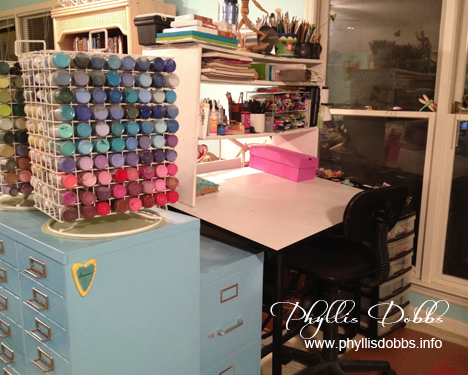
Making over my studio is progressing, but one piece at a time as I can work it in. After painting the file cabinets in my earlier post, I decided to use this poor lonely chair that had been hiding in a corner of my studio. I bought it stripped and unfinished years ago at an auction. I had intentions of doing something with it but had not. So it sat in a corner of my studio, lonely, unloved, unused, and neglected. After a re-do, this chair now shines brightly and sits prominently in front of a desk.

Turquoise painted chair

Hancock Fabrics had a sale on upholstery fabric so I got the amount I needed at 50% off the $17.99 price for around $6. I loved the print and colors, especially the turquoise. Actually, this fabric is an outdoor fabric, which is even better for studio use. I then went to Lowes with fabric in hand and found a great shade of turquoise spray paint. Its a few shades darker than my filing cabinets.

This project was pretty quick and easy. I just sprayed the chair with a few light coats of paint, then wrapped the seat with the fabric, tucked it under the bottom and stapled. And the total cost of the re-do was around $10. Not bad! I think it looks much better than the “before” version below.

Unfinish chair for Phyllis Dobbs studio
I’m so glad I bought this chair all those years ago. And since I also have a boring wing back chair that I use in my studio, also bought at an auction, I went back and bought more fabric for another makeover.  I just have to jump in and try my hand at upholstery which will be much more work than the chair seat. I’m mentally working it out with the help of a couple of books.

Here’s to success with all our little (and big) projects.

Phyllis
Organization Tips for Sewing and Craft Rooms and Repurposing Thrift Finds!

I love comments you readers post to my blog or email me. Today, I want to feature one of my readers, Dee Fox of Cedar City, UT who had a prior business of helping people organize their homes. She posted a comment on my recent blog post on spray painting my filing cabinets for my studio redecorating.  I emailed her and she mentioned that she loved finding unique thrift items to refinish for her sewing room and  how she had it organized. I asked if she would mind sharing some of her finds and tips with you.

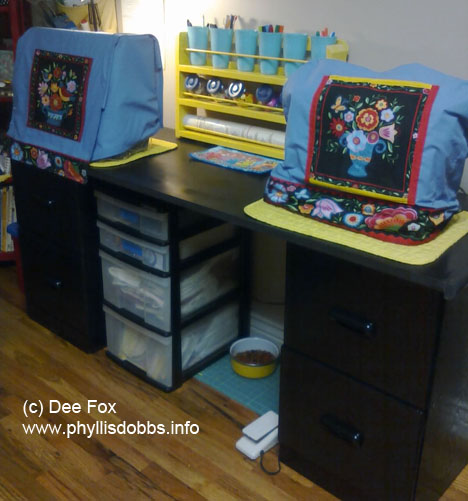
Dee lucked up when she found two filing cabinets in a thrift store for $7 each. What a find!! She immediately spray painted them and added another salvage of an old lid from a fish tank.  The result – a new desk. (Tip from Dee, light a vanilla candle to lesson the temporary smell of spray paint. I just love the smell of vanilla!)  I also love the rack with blue holders for markers and the button jars that she placed on the desk. Dee also keeps a dish of cat food handy for her cats, Fancy and Coco Bear.

Dee Fox painted filing cabinets

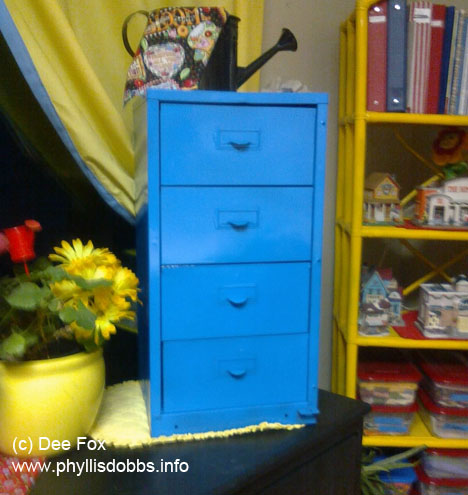
Dee found this small cabinet in her father-in-law’s garage and spray painted it blue. His loss, her gain! Its the perfect size for storing her fat quarters.

Old cabinet used to store fat quarters

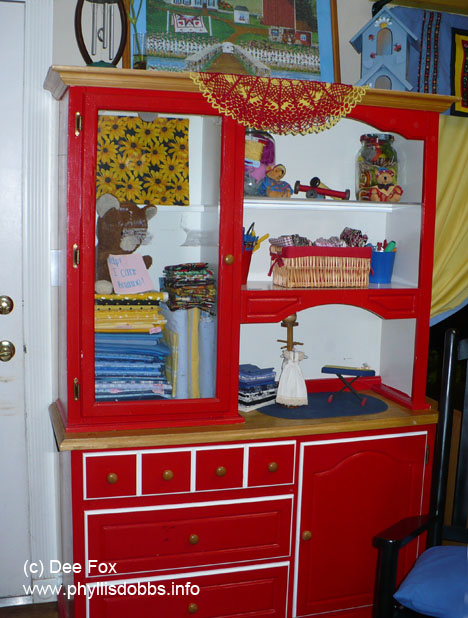
She found this old cabinet for $40 at a yard sale.  Again, Dee painted it using a cheery red and uses it to store more sewing supplies.

Red storage cabinet for sewing supplies

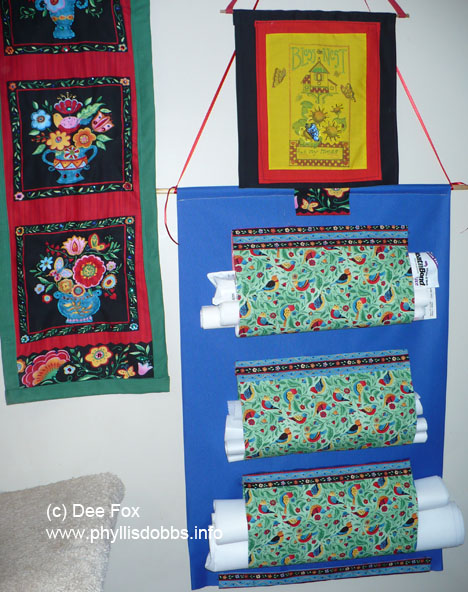
Dee’s favorite organizing tip for craft or sewing areas is to group like things together. She keeps everything she needs at arm’s reach for her sewing area as well as her cutting table and other areas. Keeping scissors, rotary cutters, rulers and other needed items close by prevents needless interruptions for trips to locate them as well as prevents time lost while searching for them.  A great example of keeping like things together is Dee’s stablizer holder that she sewed to hang close by.

Stabilizer holder made by Dee Fox

You can see from this photo that Dee is well organized and well stocked with her sewing supplies. I doubt she has to stop in the middle of a project and run to the store. You can also see that she makes great use of plastic containers and carts, which are ideal for storing craft and sewing supplies.

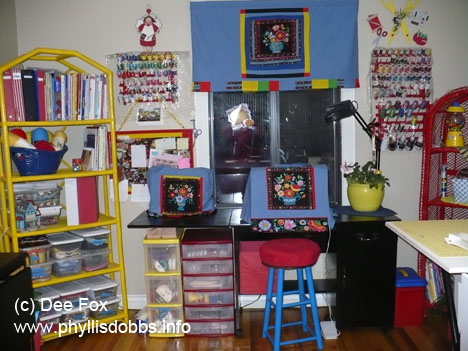
Dee Fox's organized sewing room

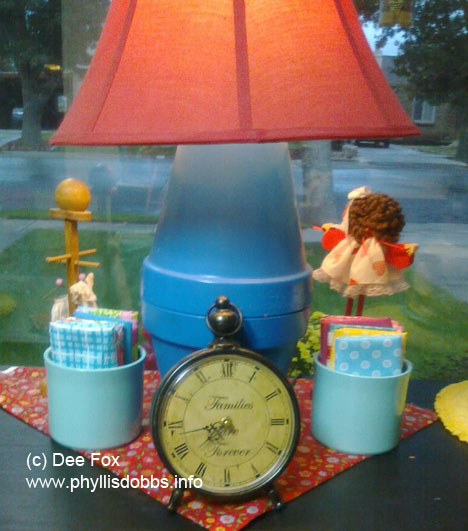
Dee also recommends that you make your space happy!  Doing so will make you want to spend more time in it.  I love this happy and decorative setting below where she uses little pots to hold fat quarters and a colorful lamp made with terra cotta pots.

Pots to hold fat quarters and lamp made with flower pots

When starting a project, Dee gathers everything for that project and keeps them togehter in a clear container.  She says the way she stays on track is to make lists for everything she needs to do.  She got away from making lists temporarily then realized she was not getting anything done. Being able to mark things off of a list also gives you a feeling of accomplishment.  Another tip is to always straighten your studio or work space at the end of the day so you don’t have to face a mess the next day.

Dee also shows that you don’t have to spend a fortune to have a great craft or sewing space or room. Repurposing old furniture or belongings, found or thrift store items is inexpensive as well as giving them a new life and giving you some unique items.

I love repainting things and am delighted at seeing Dee’s repainted treasures. Paint is inexpensive yet gives you such dynamic results and a quick makeover as well as create a mood. So keep your eyes peeled and imagine what something would look like with a make-over.

Thanks, Dee, for allowing me to feature your amazing and very well organized studio!  I love seeing studios and yours is a real treat!

Phyllis
A Coat of Paint can do Wonders for the Studio Furnishings

When I get the urge to redecorate or rearrange things, nothing can stop me.  When I start focusing on a room, the ideas just hit me and I have to do something. My husband hates it when I’m siting quietly and my eyes and head are in a constant state of turning and looking (not quite like in The Exorcist because my head doesn’t turn all the way around). It usually means something is going to change

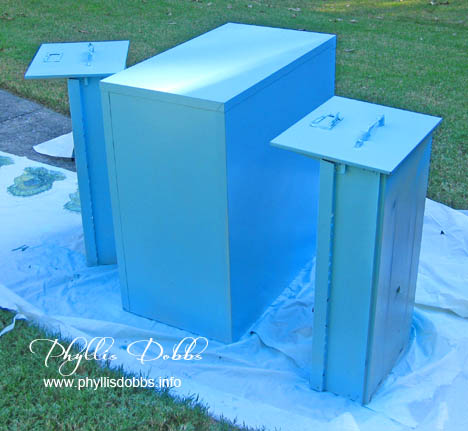
Since I spend most of my time in my studio, I tend to frequently move things around, repaint the walls and so on.  OK, I’m really tired of putty colored filing cabinets.  They are so blah!  So after hitting the stores looking for a good color, I decided on just the right shade of light aqua by Rustoleum, my favorite color.  I couldn’t wait to get home to start spraying this beautiful color on this 2-drawer filing cabinet  which is outside drying.  The color in the photo is more intense and darker than the aqua actually is because its in the late day shadows but take my word for it, it’s great! I have a couple more cabinets to finish and am excited at the way this one turned out. But I have to space myself and get some work done in between painting them.

Phyllis Dobbs painting filing cabinet turquoise
Go ahead and make some changes in your space. Even the smallest changes can make a difference.

Phyllis
Classes and More from The Creative Connection

This has been a busy week, unwinding and getting back in the flow after attending the amazing Creative Connection Event held in St. Paul. Days 2 and 3 were devoted to classes, various panels, and other speakers and panels at breakfast and lunch.  (My prior blog post detailed the first day with exciting BlogHer panel discussions.) I chose to take 4 classes on these 2 days although there were several panel sessions I would have loved to attend.

Its always fun to have some arts and crafts play time and to work in different techniques than I’m used to.  There were many  classes to choose from but I chose to take all 4 of Traci Bautista’s classes with different focuses of art journaling.

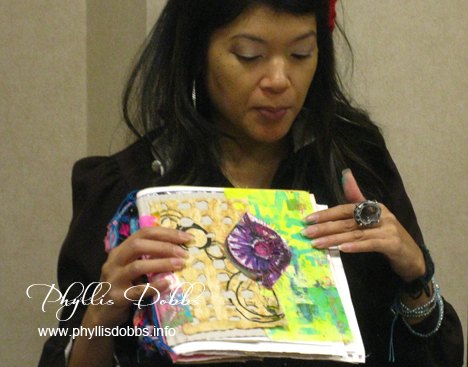
There are so many surfaces you can journal on and, as shown by Traci, fabric is one of the surfaces that can be used.

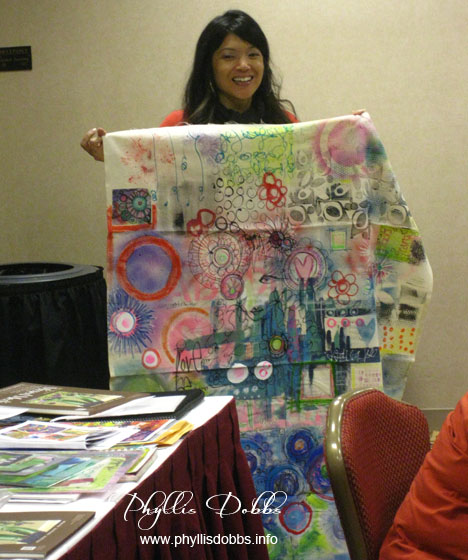
Traci Bautista showing art journaling on fabric

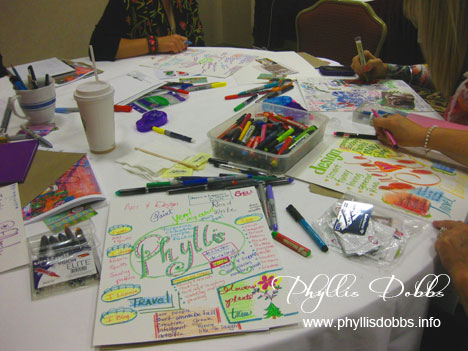
Our table early during first class with our basic journal pages in process.

Art journaling class with Traci Bautista

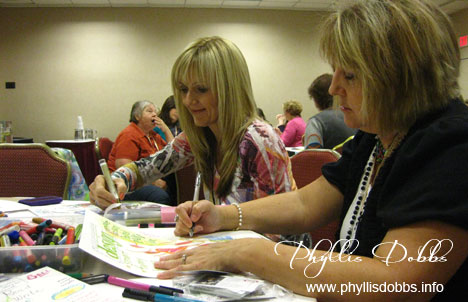
Karen Embry and Brenda Pinnick are very intent on their journal pages.

Karen Embry and Brenda Pinnick in art journaling classIn another of Traci’s classes, she is explaining different page techniques and the binding of journals.

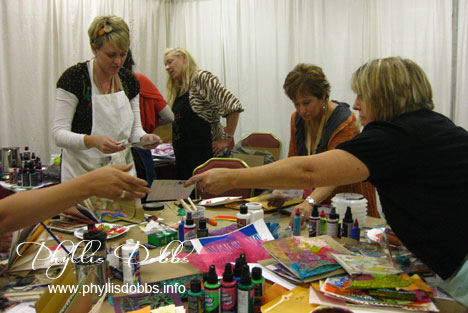
Traci Bautista talking about putting a journal togetherOur table in another class – lots more more product and lots of swapping between tables.

Art journaling class with paints and pens

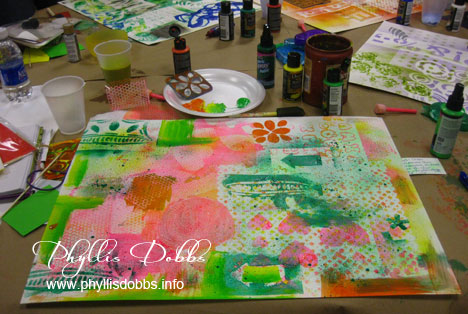
A journal page I was working on during one of the classes.

Phyllis Dobbs  art Journal page
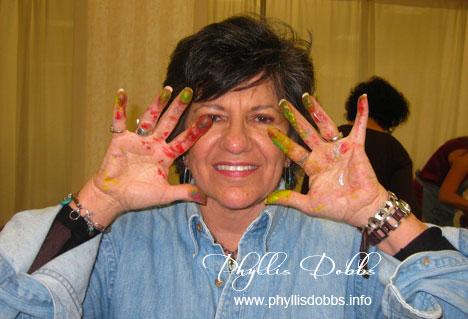
Art journaling can get messy so its best to cover up both surfaces and clothes.  Its amazing that I didn’t get any paint on the shirt I brought to protect my clothes. If I had been in my studio, I would have had paint in my hair, on my face and all the way to my feet.  But it was impossible to keep my hands clean!

Phyllis Dobbs' hands covered with paint
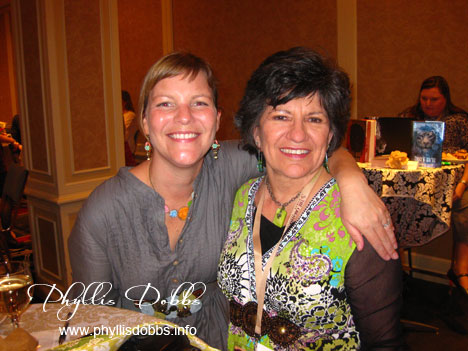
On Friday evening, the event had a cocktail party with book signing by the authors in attendance.  I didn’t pass up a chance to have my picture taken with several of the authors.

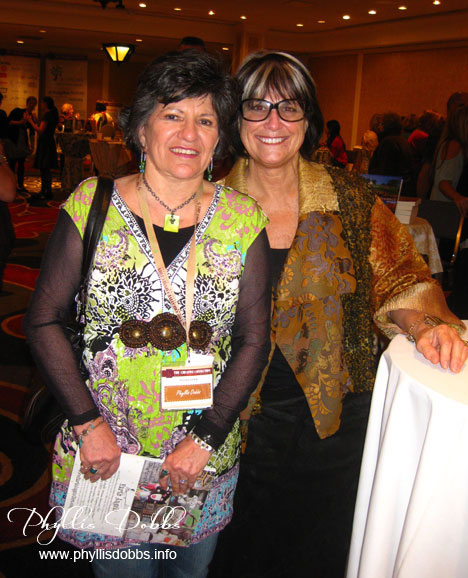
Jo Packham, although the same height as me, is a giant.  She is not only the editor for Where Women Create and Where Women Cook, she is the co-founder of The Creative Connection Event. I know TCC event took a tremendous amount of planning, but Jo pulled it off to perfection.

Jo Packham and Phyllis Dobbs

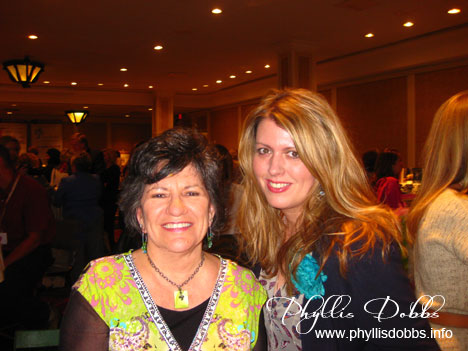
Holly Becker is the author of the popular decorating blog Decor8 and her book Decorate is an international best seller. Holly is a tremendous speaker and was the dinner keynote speaker Thursday night along with Christina Ferrare.

Holly Becker and Phyllis Dobbs

Kelly Rae Roberts, author of Taking Flight, was also part of a very informative breakfast panel of speakers.

Kelly Rae Roberts and Phyllis Dobbs

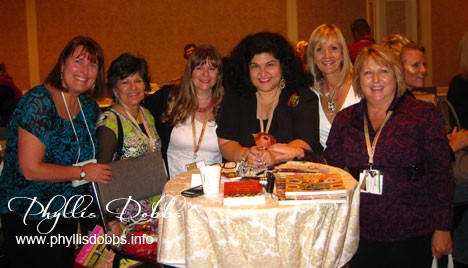
And I love this group photo at Crafty Chica’s (Kathy Cano-Murillo) signing, left to right – Eileen Hull, myself, Ann Butler, Kathy – Crafty Chica, Karen Embry, and Brenda Pinnick.

Crafty Chica at author signing at The Creative Connection

I remain inspired from this event and am already looking forward to next year’s. If you are thinking of attending, you won’t be disappointed!

Have a inspiring day!

Phyllis