Sizzix Triple Play Blog Hop Week 5 – “For You” Gift Card

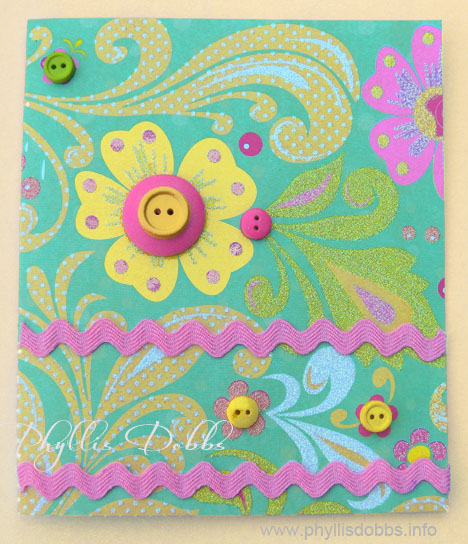
For You Gift CardCreate a special greeting card to go with a gift and let it speak volumes! For week 5 of our Sizzix Triple Play Blog Hop, I created this embellished greeting gift card.
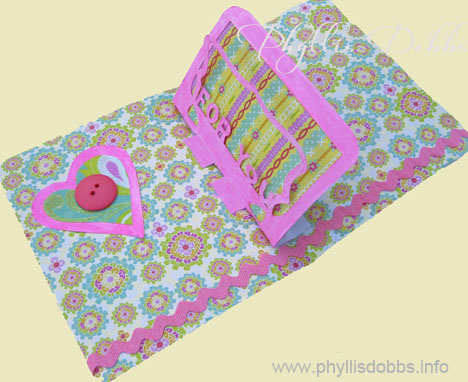
Gift greeting card open with pop upThe card is fun to make and embellish with the following materials:

Sizzix die – Gift Card Holder, 3D Pop-up, Bigz XL Die #656740 by Karen Burniston

Heavy Paper

Scrapbook double sided paper

Assorted buttons

Rick rack

Adhesive – Beacon Zip Dry

Instructions:

Cut paper to fold for the desired card size. Embellish the card front with buttons and rick rack.

Attach the die cut “For You” to the inside of the card. I added a striped scrapbook paper behind the frame opening. Note – if you are giving money or a gift card for a gift, you can insert it behind the smaller frame. I also glued a heart made of 2 layers of papers to the inside of the card along with more rick rack. The heart is embellished with a button.

With a pad of papers or your stash of scrapbook supplies, you can easily make dozens of cards!

Be sure to click forward or back on the Sizzix button in my side bar to hop to the other blogs to see all the fun and fabulous projects made this week!

Happy hopping!

Phyllis


Sizzix Triple Play Blog Hop Week 2 – Spot of Color Twist Box

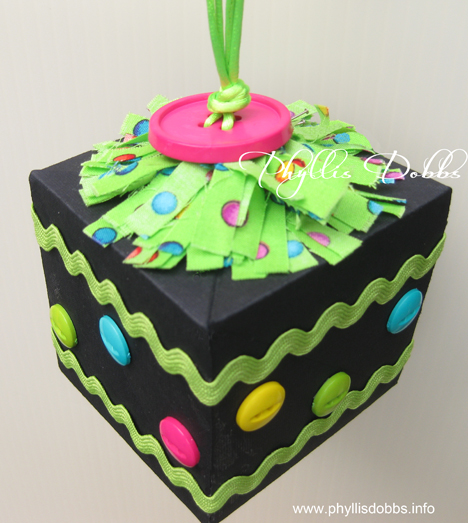
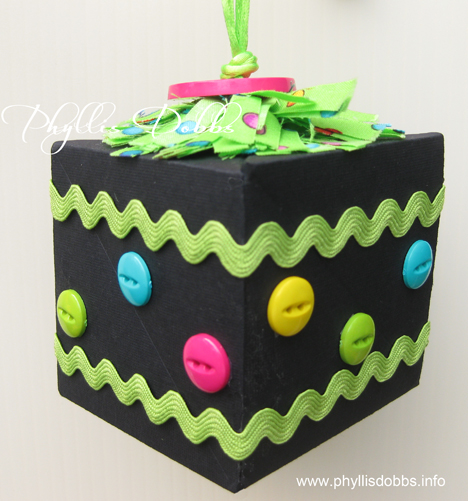
A Spot of Color Twist BlockWhat a fun project – the twist box created with Sizzix’s die by Karen Burniston can be decorated so many ways.  I decided to create a colorful ornament that would also make a fun addition to a birthday card.

Twist Box created with Sizzix die

This was easy to make with a few embellishment items.

Materials:

Sizzix Twist Cube Die

DCWV black card stock

Large 1 1/4″ button

Assorted multi-color buttons

Rick rack

Rat tail cording – 2 pieces 14″

Beacon Paper Tac glue

Fabric – 1-1/2″ x 24″ strip

Instructions:

1. Cut and make box from black heavyweight paper.

2. Thread one piece of cording through 2 holes on the large button so that the ends of the cords are on the back side of the button. Thread the other piece of cording through the remaining 2 holes. Pull ends so that they are even and insert through hole in the top of the box by 1/2″. Glue the ends to the top inside of the box.

3. Sew a gathering stitch on one long edge of the fabric 1/4″ from edge. Cut to fringe on the opposite side edge. Do not cut through the stitches. Pull gathers to 6″ and tie off.

4. Wrap the gathered edge on the top of the box around the opening with the cords. Glue as you wrap. After the glue dries thoroughly, slide the button down the cording to sit on top of the fringe. Tie an overhand knot with the cord on top of the button.

5. Glue 2 rows of rick rack around the box, 1/2″ from the top and bottom edges. Glue buttons around box.

There are 60 designers participating in this Sizzix Triple Play Blog Hop. Please check out their projects – they were all amazing last week and I know they be amazing again this week. Just click on the Sizzix blog button in the side bar to go back or forward.

Enjoy the hopping! (and check back next week).

Phyllis

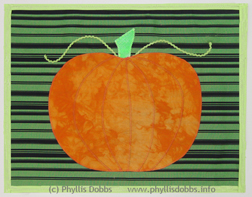
Sew a Pumpkin Placemat!

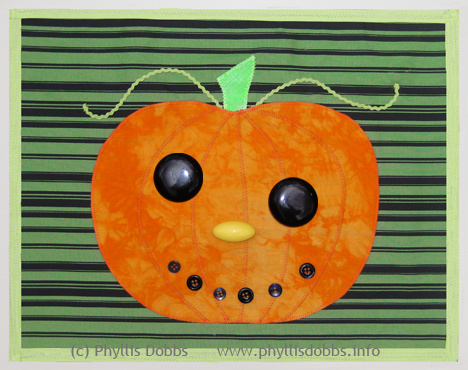
Halloween is almost here – next weekend!  I love pumpkins – they represent Fall, Halloween and Thanksgiving. Plus they are so delicious to eat in great desserts.  You can make this easy Pumpkin placemat in time for Halloween.  This free pattern will serve double duty as you can use it for a Thanksgiving table setting – just leave off the buttons.

Click to download the free pattern and instructions and start sewing.  All you need is the background fabric, orange fabric, green bias tape, baby rick rack, fusible web and if you are making it for Halloween, buttons.

I wish you a fun Halloween! My husband will be handing out our candy since I will be in Houston for the International Quilt Market.

Happy sewing!

Phyllis

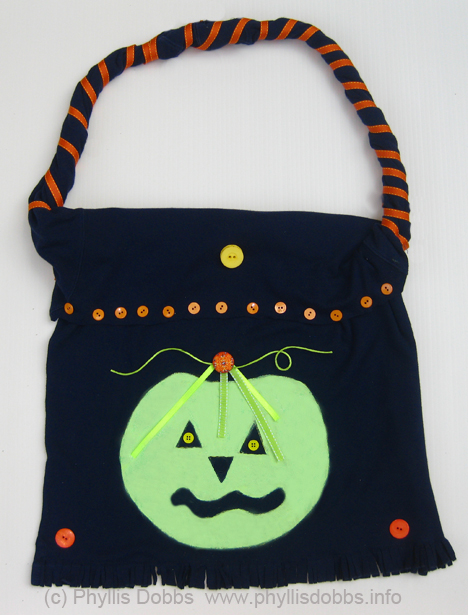
Repurpose (recycle) a tee shirt into a Halloween Treat Bag

Repurpose one of your old tee shirts into a fun Halloween Trick-or-Treat bag for the kids (or for yourself to carry around for Halloween).  

To make this easy tote bag for Halloween, all you need is the following supplies –

Black long sleeve tee shirt

Green fabric paint (great if you use glow-in-the-dark paint)

2 pieces of green ribbon

Green rattail cording

Small orange buttons

2 large orange buttons

1 large orange decorative button brad

2 small yellow buttons

1 large yellow button

1/3″ wide orange ribbon

Needle and thread or glue

Piece of cardboard

Scissors

Instructions:

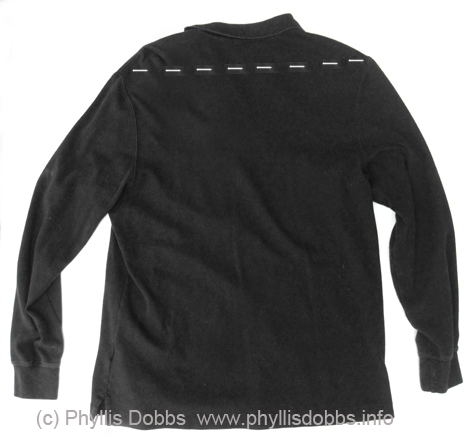
Lay tee shirt flat and cut the top of the tee shirt off above the top edge of the sleeves.  The cutting line is marked on the tee shirt below.

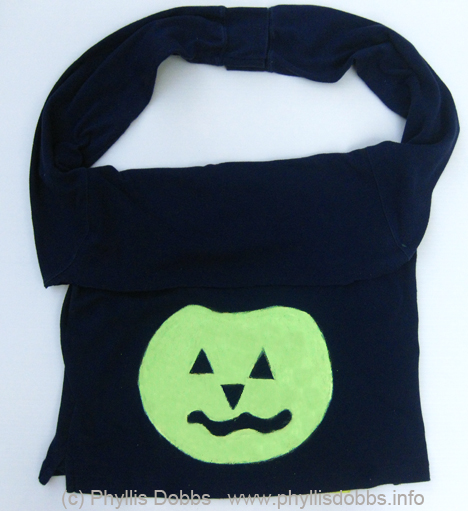
Fold the top of the tee shirt down over the front so that the bottom of the arm hole for the sleeve is at the top and the folded piece forms a flap.

Place the piece of cardboard between the 2 layers of the tee shirt and under where you will paint. Paint a pumpkin on the front of the tee shirt below the folded over edge and 2 to 3 inches above the bottom edge.

Sew the bottom front and back of the tee shirt together, sewing the seam 1 1/4″ above the bottom edge. Twist the sleeves and over lap the cuff edges by 1″ and sew together. Cut the bottom edge below the seam to form fringe.

Sew the end of the orange ribbon to the base of one sleeve “strap” and wrap around the strap until you reach the other end, cut the ribbon and sew the ribbon end to the strap. Fold 2 different lengths of ribbon together and stitch the fold to the tee shirt centered above the pumpkin.  Arrange the green rattail cording and sew loosely to the shirt as shown.  Glue or sew the orange brad on top of the ribbon at the fold.

Sew or glue buttons – 2 small yellow buttons in the eyes, 2 large orange buttons in the bottom corners, the yellow button centered on the folded over teeshirt area, and a row of small orange buttons to the edge of the fold over.

I hope you enjoy this project!  Be creative and paint a skull or any other Halloween design or use a different color shirt – let your imagination fly or enlist the help of the kids.  Your trick or treaters will love carrying this bag.

Phyllis

Halloween Craft – Decoupaged Pumpkin Treat Basket

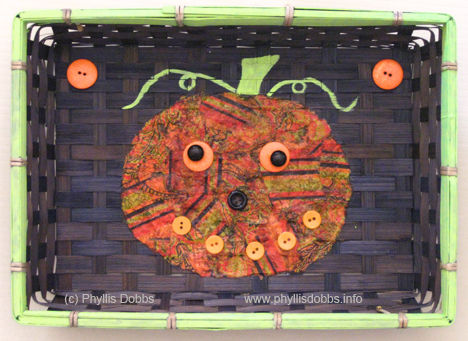
Make an easy Halloween Basket to hold candy for trick-or-treaters.  All is takes is a basket to decorate (I found this one at Goodwill for $1) and a few supplies.

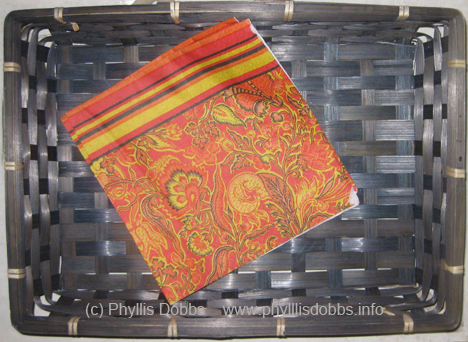
The pumpkin was created with a paper napkin torn into pieces then decoupaged with Mod Podge.

Supplies –

Basket

Mod Podge

Assorted orange and black buttons

Green Paint (Plaid Folk Art)

Paper Napkin or other orange pattern paper

Paint brushes

I found these gorgeous paper napkins at Tuesday Morning.  They are the perfect colors for Halloween and the fall season.

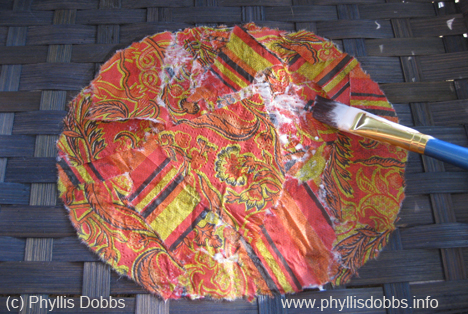
After drawing pumpkin shape on the basket, I tore the napkins into assorted sizes and shapes, with curved edges on some to loosely fit the curved edge of the pumpkin. Then I applied Mod Podge with a brush to the basket inside the pumpkin area, a section at a time.  I added the pieces of torn napkin on to the area with the Mod Podge, overlapping pieces and fitting the curved edges along the outside edge of the pumpkin.

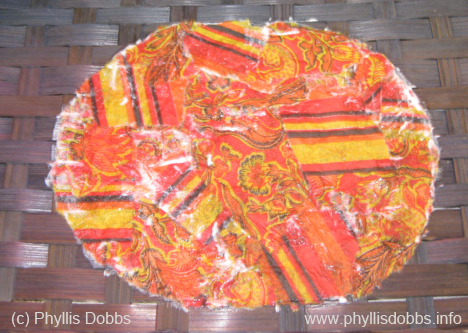
After filing the pumpkin and I keep adding the paper pieces so that there were 2 layers of paper for the pumpkin.

When all the napkin pieces were in place, I applied a final coat of Mod Podge on the top of the pumpkin to seal the paper.

After the pumpkin dried, I painted the stem and vine as well as around the rim of the basket.  I glued buttons for eyes with smaller round black buttons on larger orange buttons.  A black button was used for the nose and a row of small orange buttons for the mouth.  A large orange button was glued in the top corners.

I wish you a boo-dashious Halloween.  Please check back – I’m working on several more crafty and sewing items for Halloween!

Phyllis